

[UPDATED: 2020] How to Create a WordPress Order Form in a few simple steps. No coding required. The first thing is first, I may receive a commission if you purchase WPForms Pro through the links in this post. Because I am affiliated does not change my view on how simple this plugin is to use. Especially for beginners. You can see from the other posts I use this plugin for almost all my forms and submissions. It is reliable and you can be sure not to miss one email.
*Disclosure: I only recommend products I would use myself and all opinions expressed here are our own. This post may contain affiliate links that at no additional cost to you, I may earn a small commission. Read full privacy policy here.“
Table of Contents
Installing WPForms Plugin
You can install the plugin directly in WordPress free. However, this will only provide you with some basic features and templates.

I may receive a commission if you should upgrade using the links on our page.
Activating your Upgrade
After you have the plugin activated you will need to upgrade to the pro version. This way you can accept payments directly from your form. Again I do suggest reading on how to accept payments to be able to set that up properly. I do have a link at the bottom of the page to direct you to my tutorial on setting that up correctly.
Create a WordPress Order Form
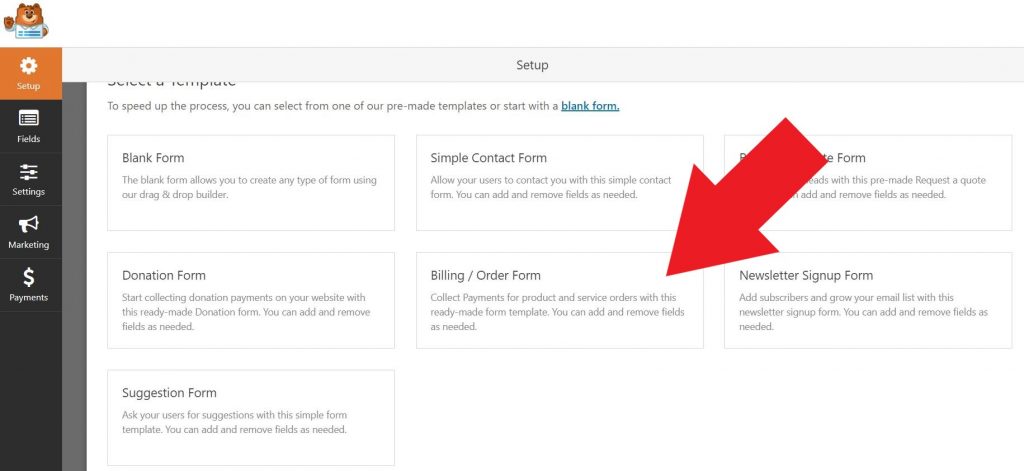
Begin with Naming your Billing or Order Form. Once you have done that you will find a screen that looks like this:
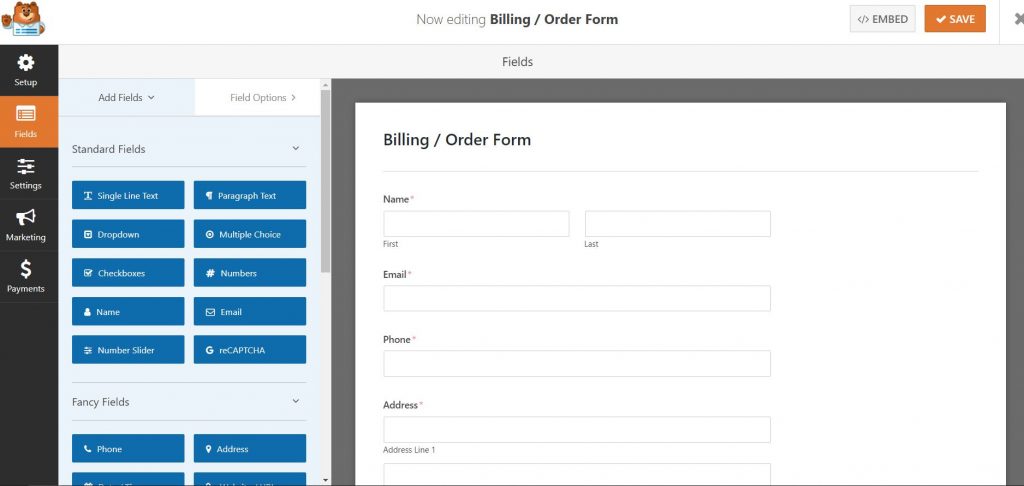
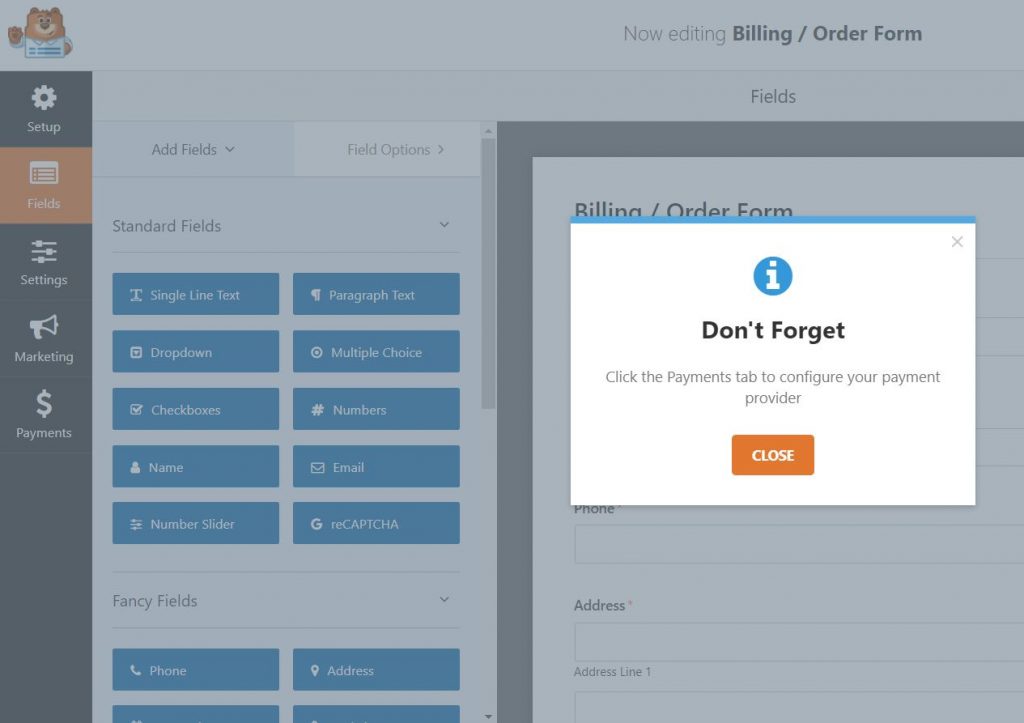
When you first start using pro. You will need to activate your payment methods and test to make sure it is working. You will see a screen similar to this one:

We will get to the payment section later on. However this may pop up when you begin your order form. So just close this for now and we will go through the form step by step. First you want to start with your settings.
Settings
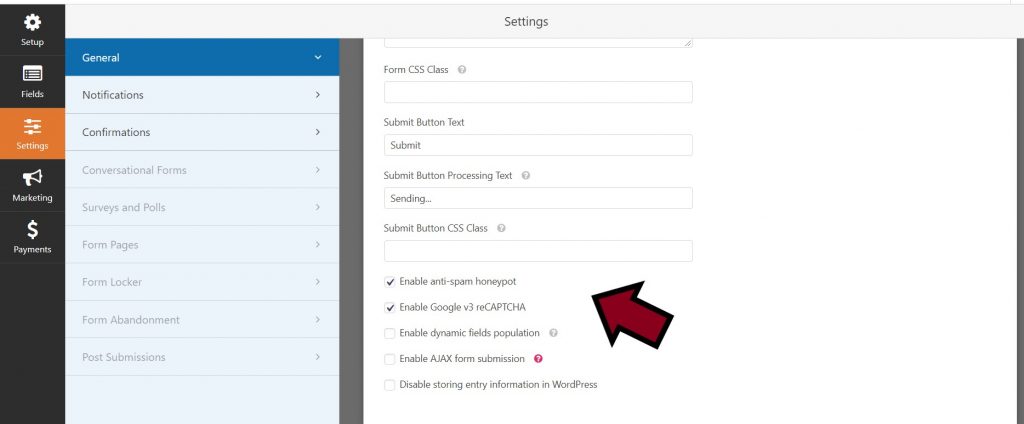
General Settings
In the General Settings you will see a number a fields to fill in such as:
- Form Name– Name your order form
- Description– Description of your form, only you will see this.
- Form CSS Class– Optional if you are using your own HTML
- Submit Button Text– You can rename the button or change its appearance
- Button Processing Text– You can add in a processing text if you like
- Submit Button CSS Class-Optional for use if you are using your own HTML
- Enable your anti-spam protection and other options to prevent spam
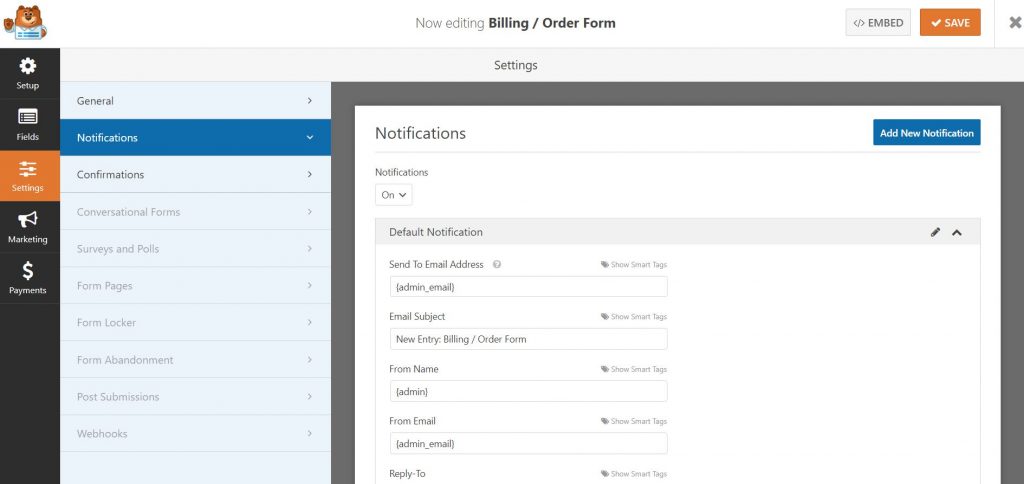
Notifications
Notifications are optional. If you prefer to use them, you can find them under Entries in WPForms on your dashboard sidebar.

Make sure when setting up your notifications that you include the following:
- Send to Email Address
- Email Subject
- From Name
- From Email
- Reply-To
- Message
- Enable Conditional Logic*
* Conditional logic is optional. If you choose to use it
Confirmations
You can use the default confirmation messages if you want, but there is an option to customize the page. It allows flexibility like the type of message, what it says, or how it looks.
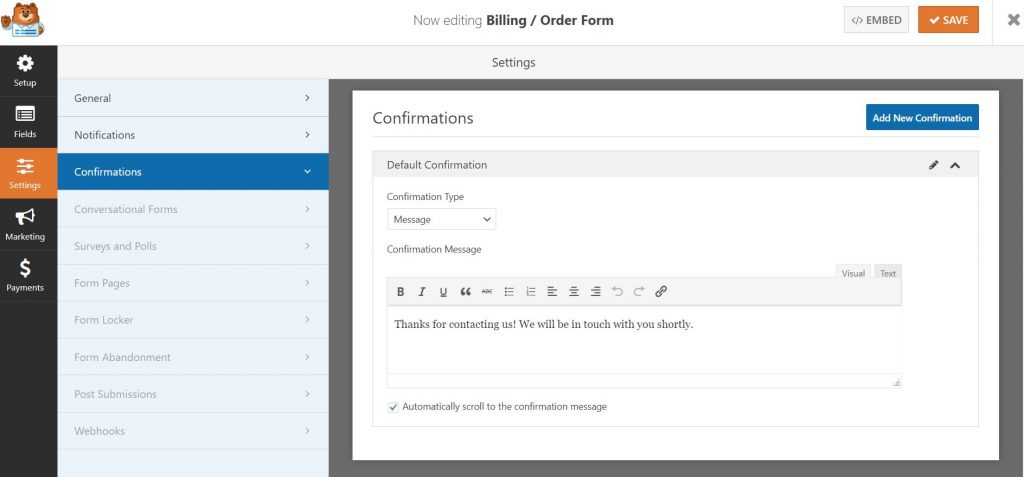
There are three Form Confirmation options you can choose from:
- Message- Type the message you want the customer to receive. Such as thank you for your payment. Your Invoice will be sent to the email you have provided us.
- Show Page- This will take the customer to a specific page you have designated. You can redirect them right to your thank you page. You can add more information for them as well by creating this landing page.
- Go To URL – You can use this option if your directing them to a different website all together.
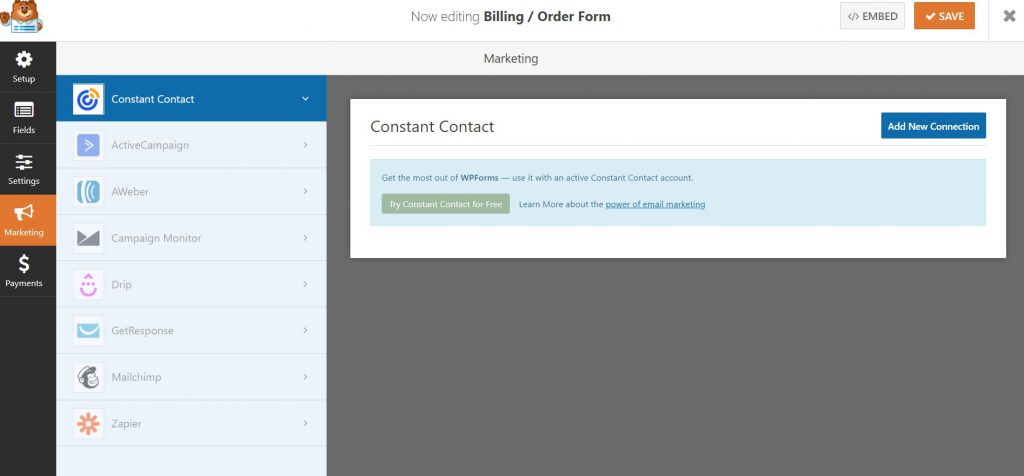
Marketing
With this tab, you have the option to create Constant Contact with your customers. Sending them marketing or promotional materials relating to their previous purchase. You can include this on your conditionals if you like.

Payments

Your final step before placing the form into your WordPress is setting up your payment settings. WPForms makes it really convenient to accept different methods of payment. They have integrated with PayPal, Authorize.Net as well as Stripe.
To set up your payments: Here is some reading about accepting payments that might be helpful.
Setting Up Your Order Form Without Accepting Payments
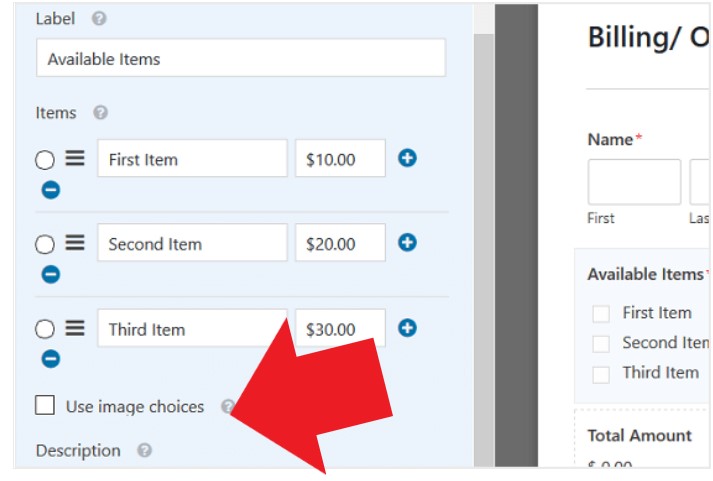
Although sometimes we don’t need the payment options on our order forms. For instance, if you would like to do a pre-order form or free sample. When you get to the field options on the left side under the payment settings. You can remove these options by simply replacing them with images as one example.
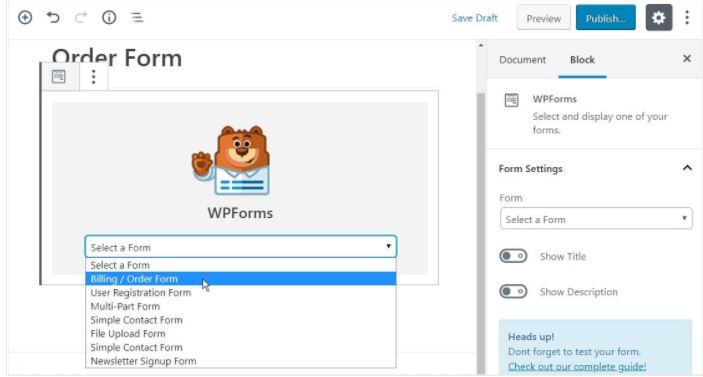
Adding Your Order Form To WordPress
This is the Feature I love most about WPForms, you can add in which ever form you like simply by using the widget feature in WordPress. Once you have added in the WPForms widget you can then choose which form you would like to use. It will automatically place the form into your page. Now you can test you form to see if everything works.