


How to connect WPForms and Sendinblue in WordPress in these simple steps below. What is Sendinblue? It is a website that will help you organize your leads and help you with all your email marketing needs. You can connect directly to your customers, Automate emails and keep in contact with new leads.
First, you must be using the WordPress Plugin WPForms. You can easily install WPForms by navigating to the Add New Plugin. Search for WPForms and activate the plugin. After you have upgraded to the Pro version, You will be able to use this feature.
*Disclosure: I only recommend products I would use myself and all opinions expressed here are our own. This post may contain affiliate links that at no additional cost to you, I may earn a small commission. Read full privacy policy here.“
Table of Contents
Integrating your WPForms with Sendinblue
In your WordPress dashboard, navigate to your WPFroms Dashboard under settings/integrations.

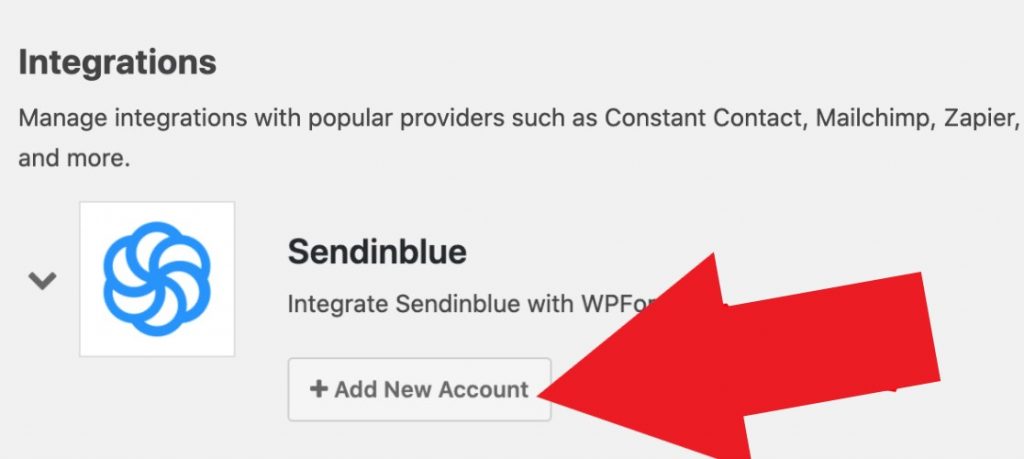
Connect WPForms and Sendinblue in WordPress
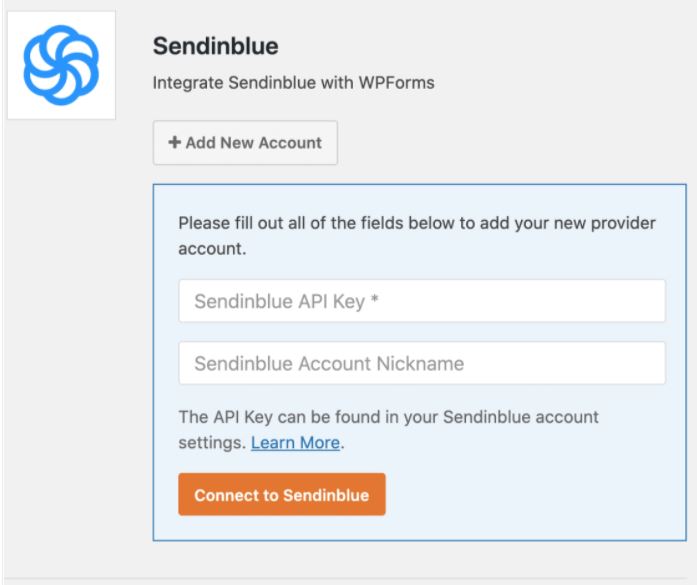
Next, You want to click on Sendinblue and add your account. If you haven’t registered with Sendinblue you will need to register for an account with them to use their services. To add your integration with WPForms you will see a screen like this one:
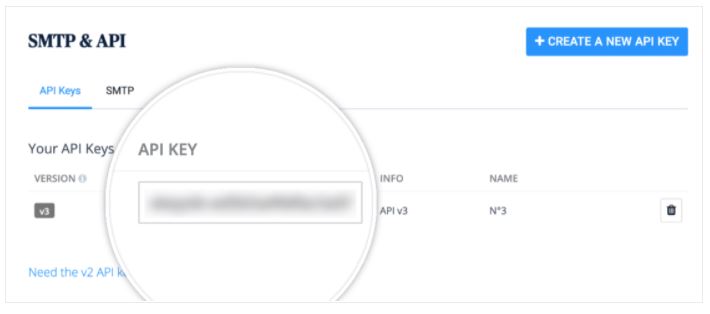
Getting Your Sendinblue API Key
Login to your Sendinblue account. Once you are logged in you can find your keys in your main dashboard located on the top right corner of the page, and select SMTP & API.

Fill In Your Account Information To Connect To WPForms
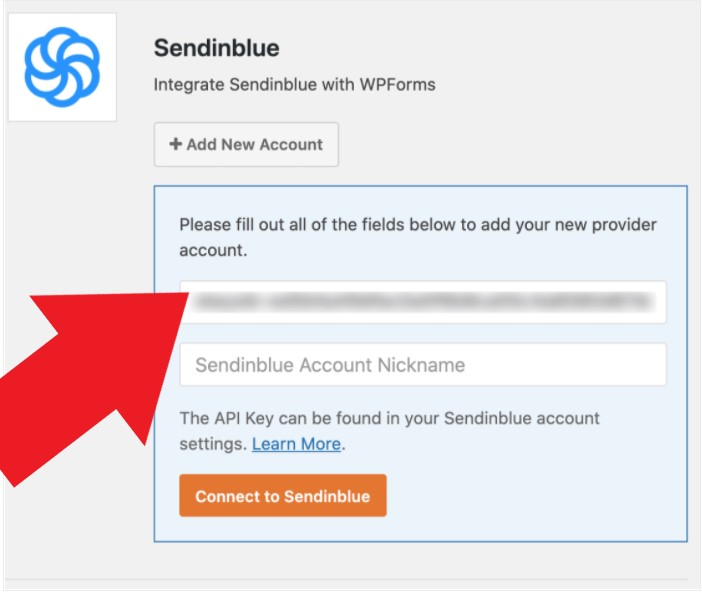
Once you have filled in your Account Name you signed up with, and your API you can connect Sendinblue right to your WPForms to start your new Email Marketing campaign. First, you will need to create a form. Here are a few you can choose from if your new to WPForms:
- Create a Donation Form for Your Website
- Setting up Reoccurring Payment Forms for Your Website
- Build Spam Free WordPress Forms
- Collect Paypal Payments in WPForms
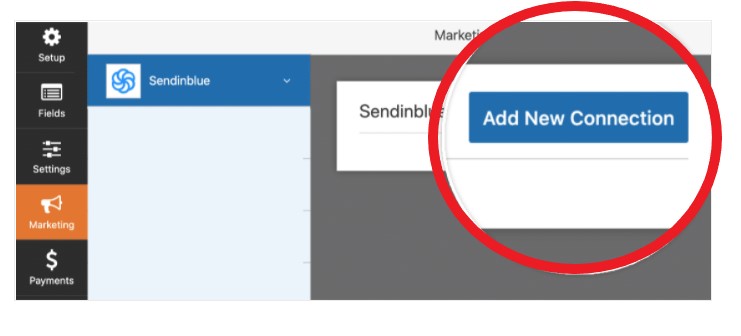
Within the form builder, go to Marketing/Sendinblue. Then, in the Sendinblue tab, click on the Add New Connection button.
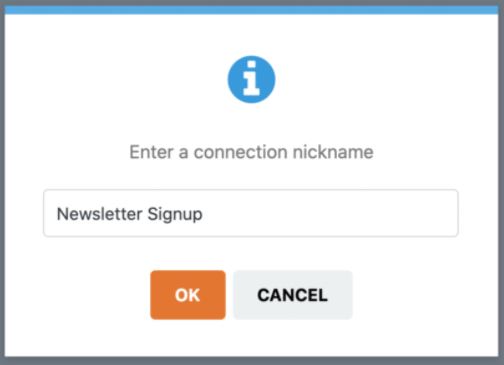
Fill in the connection name which should be your form name for easy reference. This way you can find the form in your Sendinblue dashboard. You can also have more than one account with Sendinblue so you can use the dropdown to choose which Sendinblue account you’re using if you have more than one.
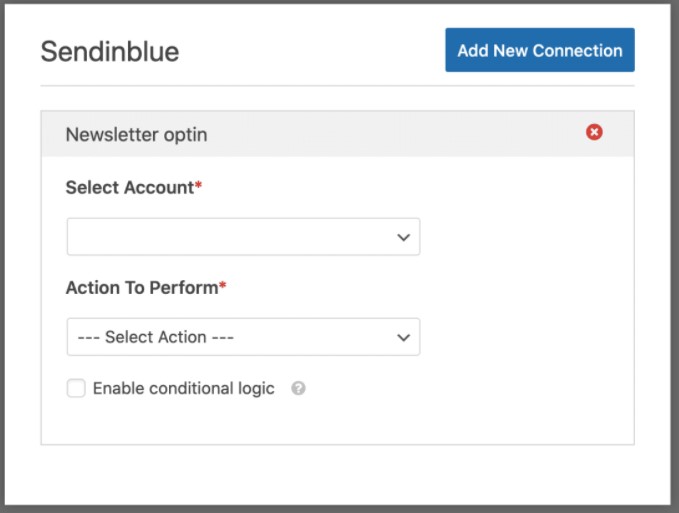
You can perform many actions so you will want to choose one from the dropdown list. I am going to use subscribe for my newsletter sign-up form.
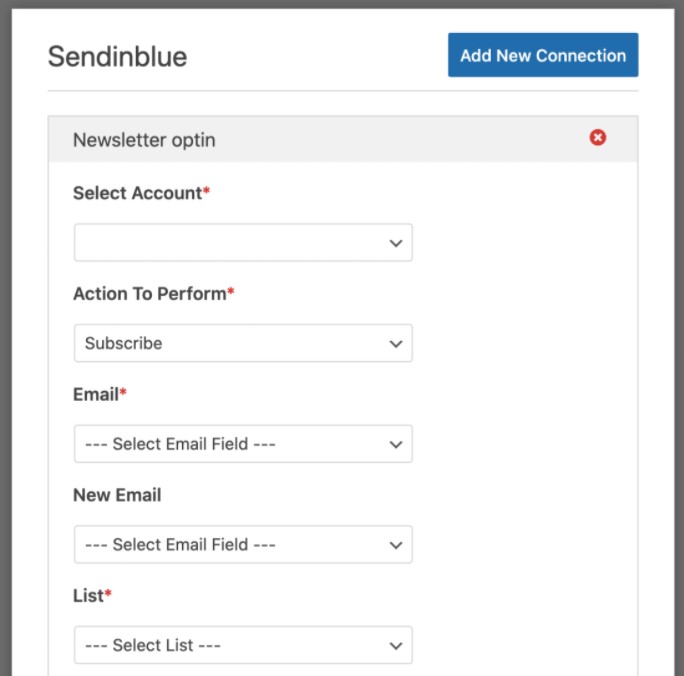
Fill in the Mandatory Fields
- Email: Use the WPForms field that will contain the subscriber’s email address in the dropdown.
- New Email: The WPForms field that would contain the new email address of the subscriber. This field is only necessary when updating an existing contact in Sendinblue, so for this example, I will leave this field blank.
- List: Select the Sendinblue list that you’d like the subscriber to be added to.
Map any custom fields you’ve added to your Sendinblue
You will be given a choice to map any custom fields you’ve added to your Sendinblue account under the Custom Field Name section below.

Now You’re Set Up- How Do You Use Sendinblue?
- Email Marketing– Use Sendinblue for your email marketing campaigns.
- SMS Messaging – Used for urgent things like discounts and sales.
- Chat– Live chats with your customers to answer any of their questions they may have with no delay in response. Making it easier to close your sale with your new lead.


WPForms Form Builder
*Disclosure: I only recommend products I would use myself and all opinions expressed here are our own. This post may contain affiliate links that at no additional cost to you, I may earn a small commission. Read full privacy policy here.“