
” How To Create an Engaging Multi-Page Form [Step-by-Step].” This is a perfect solution to long forms or employment applications. First, You will need to download the WPForms plugin to be able to do this. Making your forms more professional and full of color. WPForms is a free plugin, and it allows you to upgrade when you need to. It is the best form plugin I have found online. Easy to use with no coding involved.
*Disclosure: I only recommend products I would use myself and all opinions expressed here are our own. This post may contain affiliate links that at no additional cost to you, I may earn a small commission. Read full privacy policy here.“
You can also refer to my recent post on setting up your WPForms and creating a simple spam free form. By following the simple steps below I will show you how to turn your long-form into one that is more reactive and user friendly. This can prevent any form abandonment events that may happen. It is especially helpful when finding the right candidate for the job!
Table of Contents
Once you have installed the WPForms Plugin
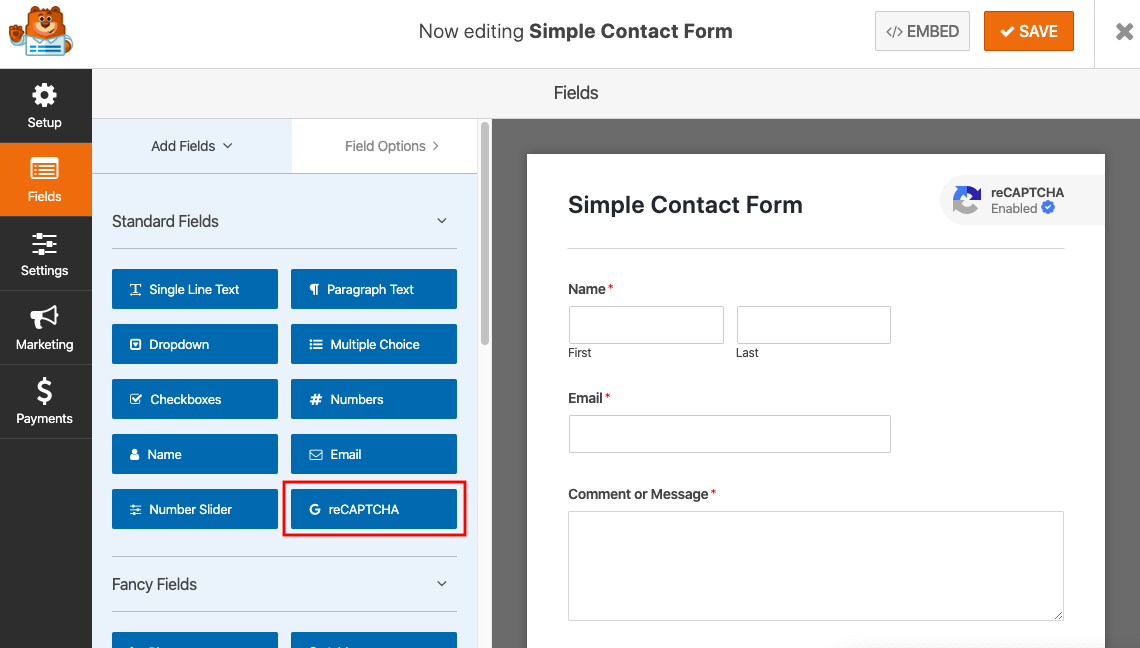
After you have the plugin activated you can now begin to build your multi-page form. I am going to use a job application for an example in this tutorial. Start by editing a simple contact form or by creating a new form.
How To Create an Engaging Multi-Page Form [Step-by-Step]
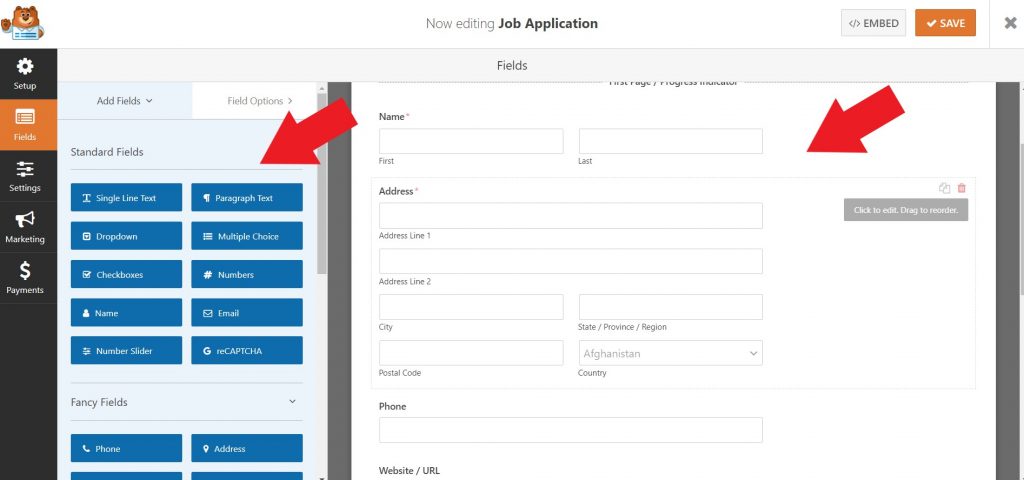
Begin Adding Your Fields To The Form
I have used this example where I have added in the contact information by clicking and dragging and dropping my preferred field.
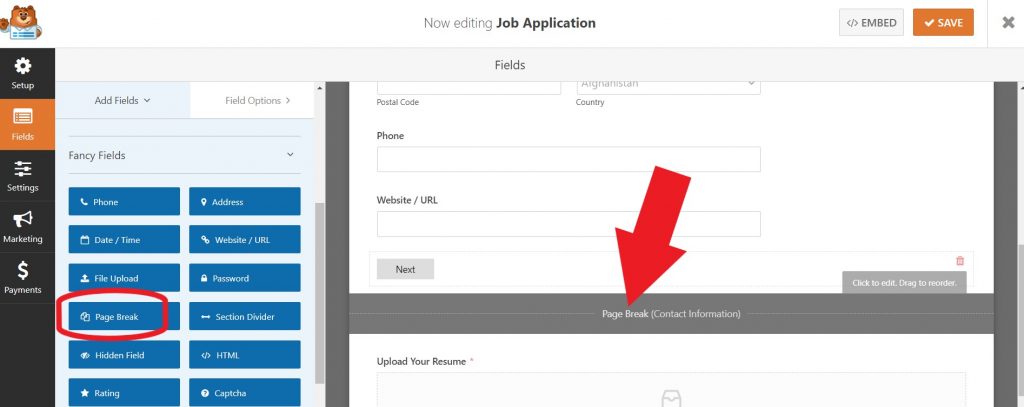
After you have added in all the fields on your first page you can now add in your page break. This will be the second page of your form. You can change the advanced settings by clicking on the page break section.
Insert the Page Break To Create Your Next Page
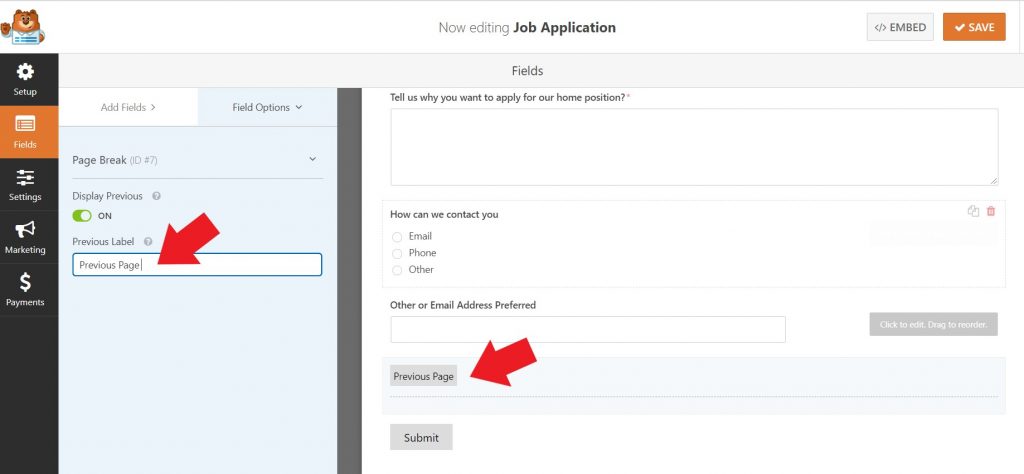
When you click on the section of the page break you will get options to add in a previous page button. This will allow the user to go back and fix any mistakes or add in any information they may have forgotten.
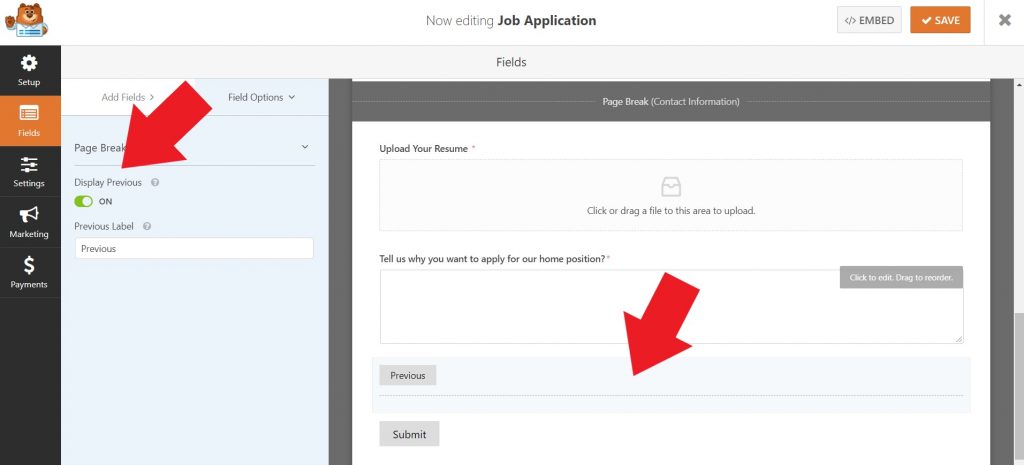
Once you have all your form fields in you would like to add. Remember to use your upload button for the user to upload any resumes or letters of recommendation.
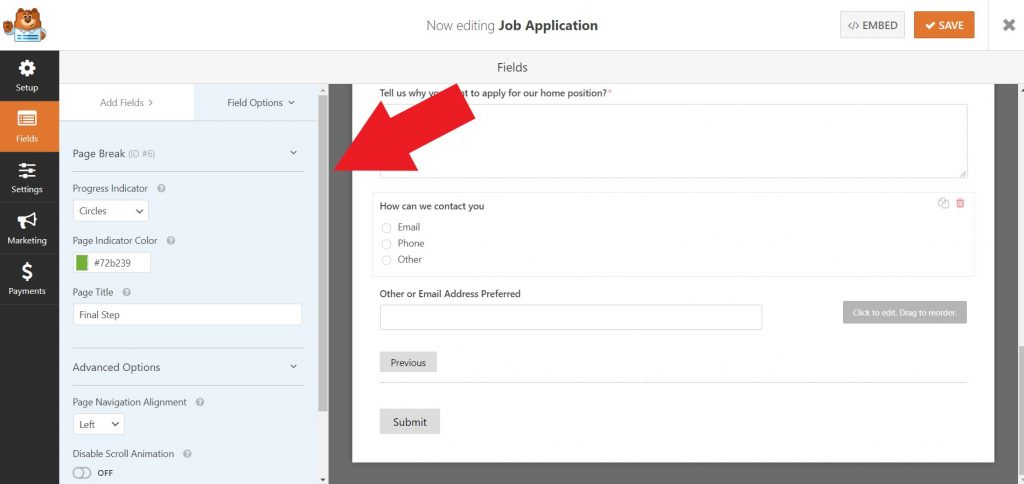
Customizing Your Progress Bar
I do suggest using the progress bar on your multi-page form to allow users to know how much more they need to fill in before completing. WPForms comes with three different breadcrumb style indicator bars for these multi-page forms. They will appear as your progress bar. Connectors will show the connecting bar and titles of each part of your form. (You will see this in the image below with all three styles.) So be sure to name each section accordingly. Circles will let you have circles with titles beside them. The progress bar will act as an indicator such as step one of three for example.
![Progress bar How To Create an Engaging Multi-Page Form [Step-by-Step]](https://petfrenzy.ca/wp-content/uploads/2020/07/progress-bar.jpg)
You can choose which one you want to use by clicking on the drop-down box then choosing “Progress Bar”, “Circles” or “Connectors”.
Set Your Notifications
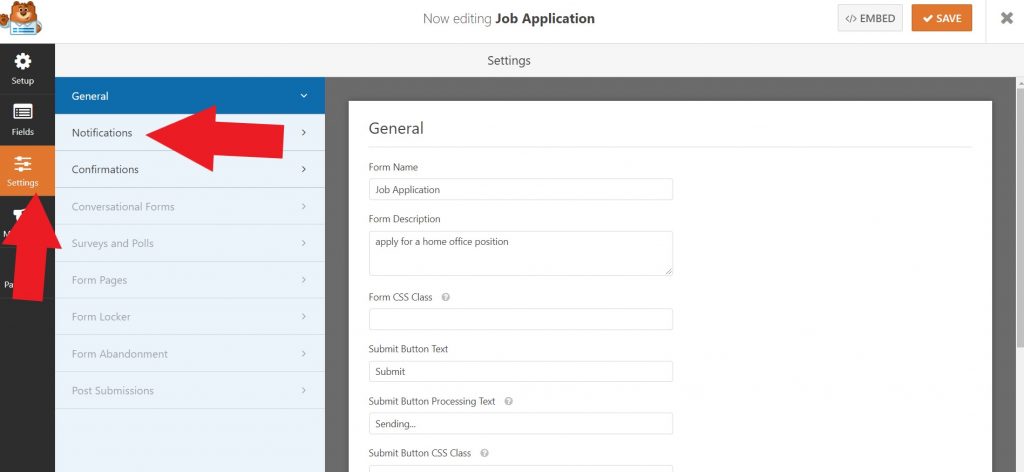
When a user fills in the form you will want to make sure that form works and will notify you if you should get any new applicants. You can also create your own interview or test that the user may take before applying for the position. This is a great resource to screen your applicants for proper qualifications.
Using Smart Tags
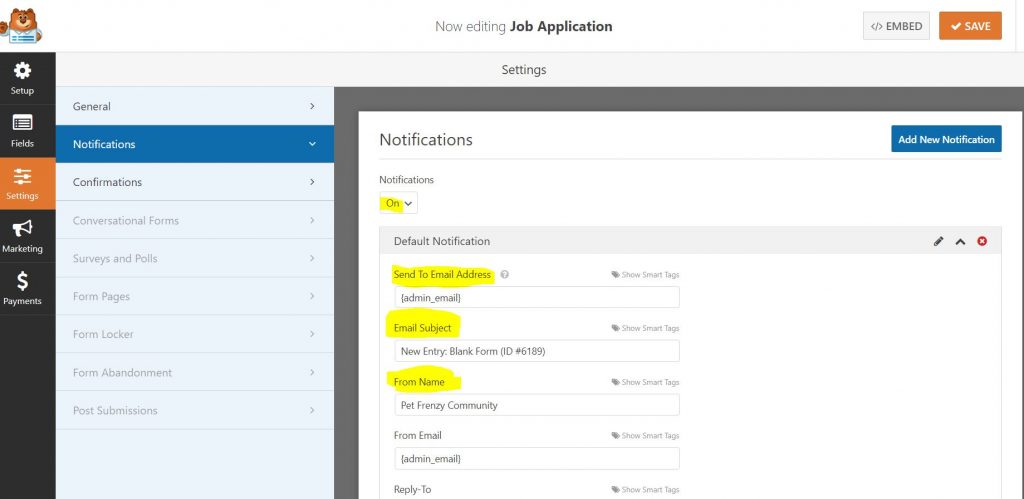
If you decide to use the smart tags, you can also send a notification to the user’s email address when they submit a form. This will let them know you received the form without them wondering if it actually went through.
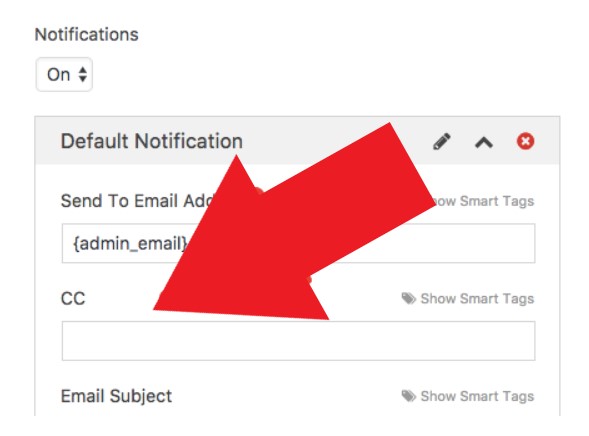
By Default the Send to Email will be set to {admin_email} if you are adding in more than one email you can add them in by separating them with a comma.
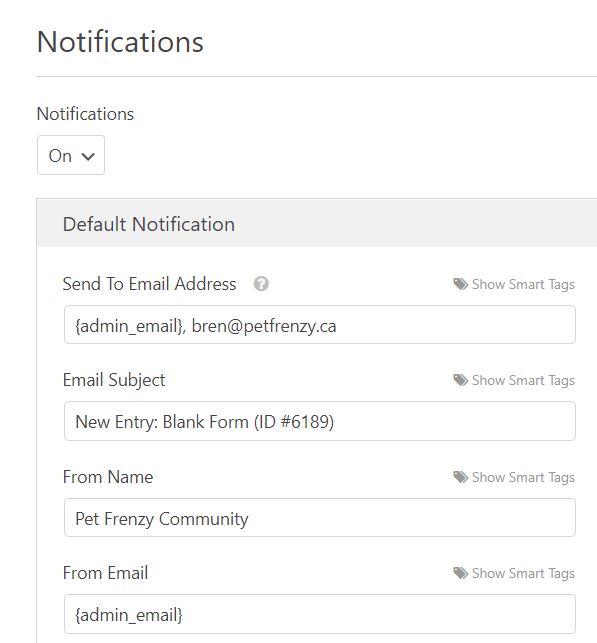
Email Subject
If you want to place a smart tag into your subject line you can do so by a simple click. This way you will know which form your receiving in your email notification.
From Name

By default your “from name” will be set to your {admin_email} This pulls the name field from the entry. However, if you’re using an SMTP plugin to ensure email delivery. The From Email must match the one you have set up SMTP
Reply-To
There can only be one reply-to email address. You can add in a CC field if you would like to reply to multiple email addresses. If this is left empty, the email will be the default to the form email.
Adding Multiple Form Notifications
If you would like to sort and send the notifications to different members of your team or separate emails you can do so by following these steps:
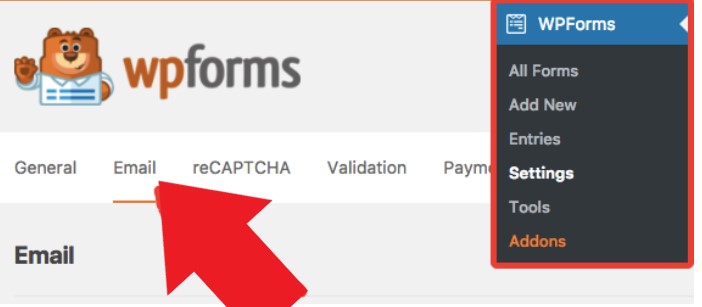
Go to Settings/Notifications/ Add New Notification
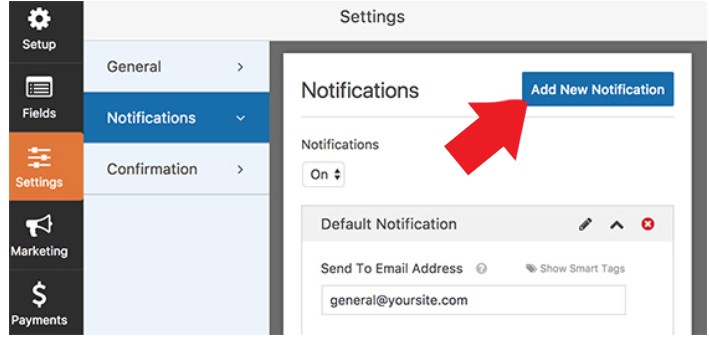
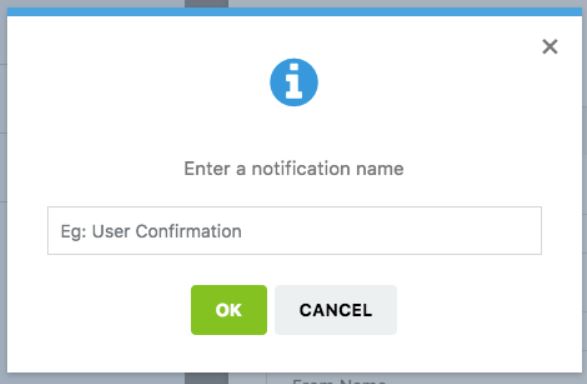
You will then be prompted to name the notification so that you can use it later or edit the information. The user will not see the name that you have named this notification. It is used for your reference only.
You can also create a Reply-All notification with a CC Field by navigating to your Email Settings you can scroll to the bottom of the page and find the enable CC field.
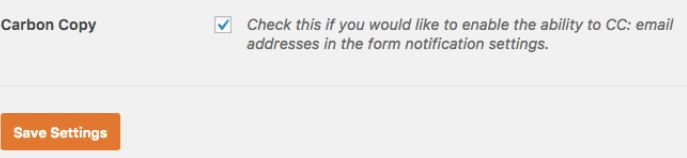
After saving your settings you can return to your form and you will see the CC field where you can enter the email addresses that you would like to use.
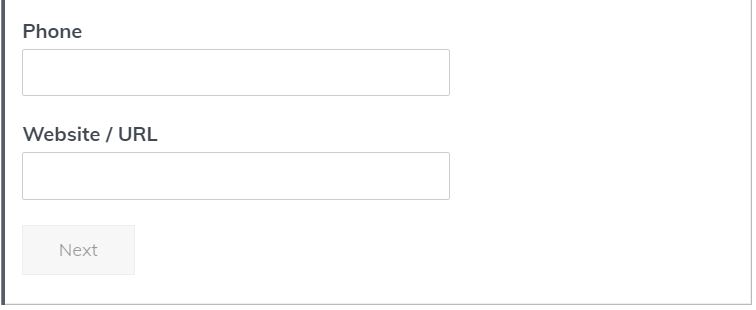
You can also test your multi-page forms before launching by following the WPForms Checklist. The form will look something like this. I used a two-page multi-form for this example but you can add in as many pages as you would like to.
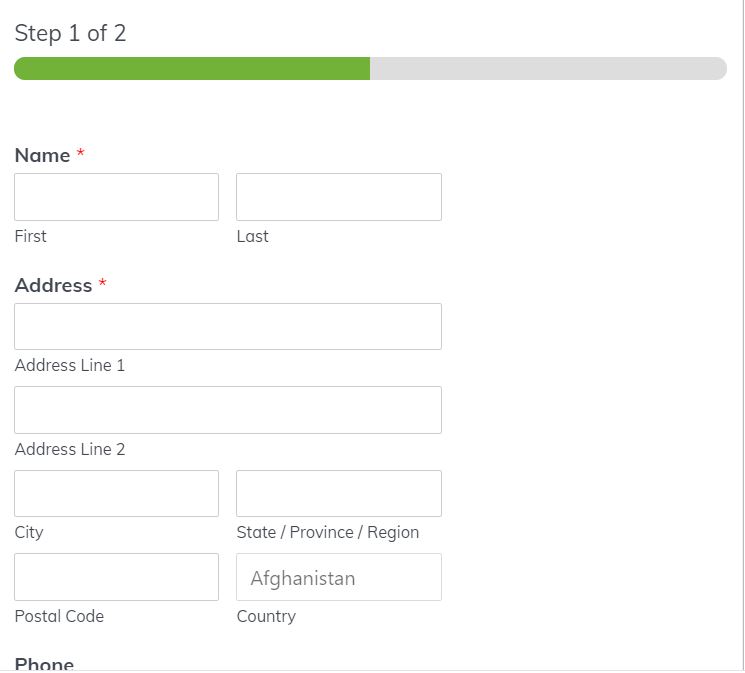
The last part you will see the next button once the user has completed the first page, they can now continue to the next step on the second page.
If you liked this article on How To Create an Engaging Multi-Page Form be sure to check out more cool things you can do in WPForms by visiting our Pet Blogging Tips section of the website. I highly recommend using WPForms for all your form needs. It is very simple, no coding and drop and drag all the fields into your form.
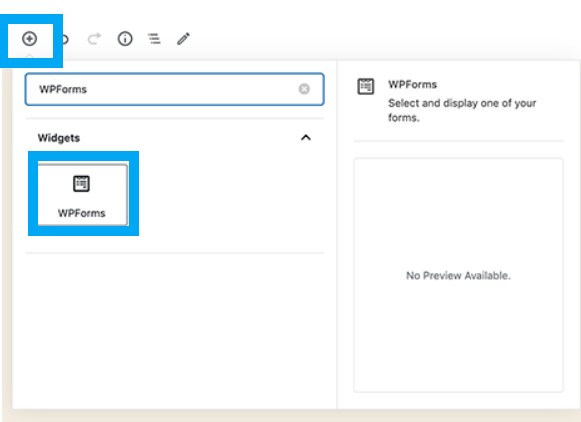
You can also add the form into your post or pages by using your widgets from the WordPress editor. Just start typing WPForms and you will get a drop-down list to choose which form you would like to use.