


Ever Wondered How to Display a Popular Posts List in WordPress? I can show you a really simple way with MonsterInsights. As you already know I am a big fan of the MonsterInsights for keeping track of your analytics right from your WordPress Dashboard. First, you will need to have the MonsterInsights Plugin.
*Disclosure: I only recommend products I would use myself and all opinions expressed here are our own. This post may contain affiliate links that at no additional cost to you, I may earn a small commission. Read full privacy policy here.“
Table of Contents
Learn How to Display a Popular Posts List in WordPress Step By Step
Step One
You will need to upgrade to use the feature I am about to discuss later on. You can upgrade directly below. Or you can keep reading some of the basic features you can use.
Such as Inline Popular Posts, Popular Posts Widget, or the Popular Products. The popular products are for if you have e-commerce. This will make your most popular products visible to the viewer. By using the widgets you can place them anywhere on your WordPress website.

Once you have done this you can either upgrade to pro so it will automatically add in your Top 5 Posts from Google Analytics!
Step Two
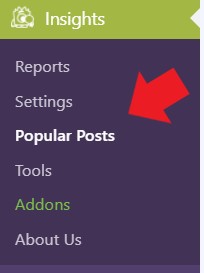
On your sidebar, you can click on the Popular Posts tab
Step Three
You can now start sharing your most popular posts on your website.
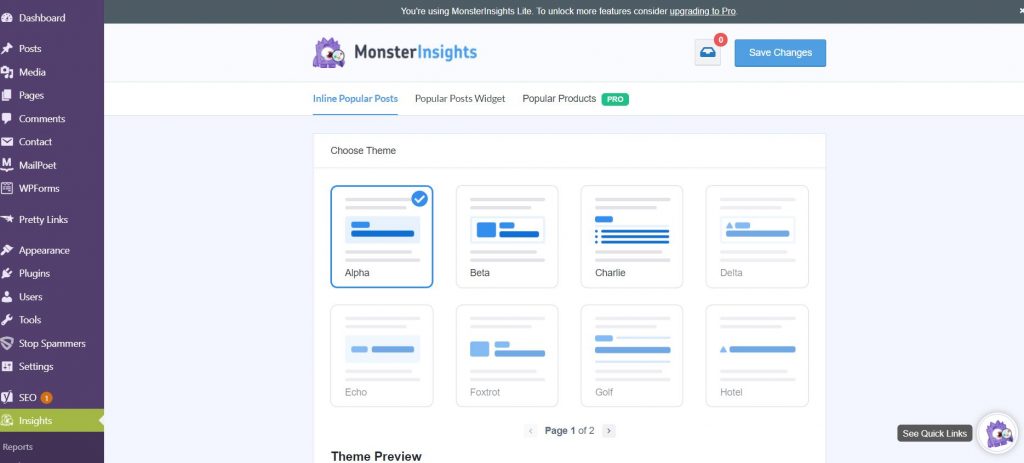
Inline Popular Posts Tab
This tab will display your popular posts within your website content
Custom Design
You can choose your own custom design for this feature. You can also choose how want to colors, font size, and spacing of the widget.
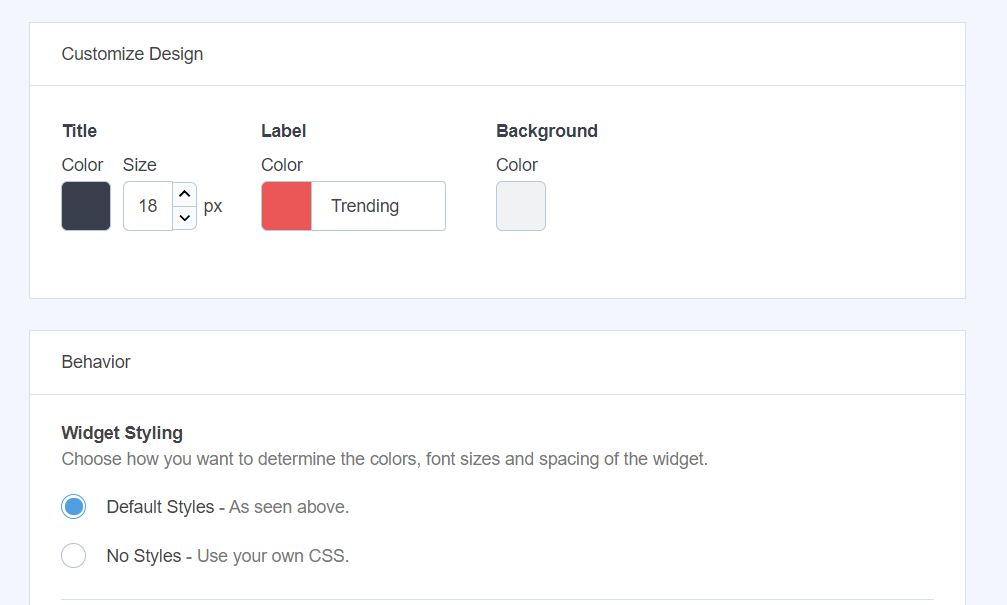
Widget Styling
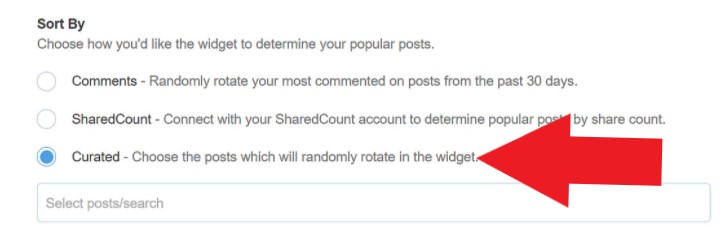
You can now choose how you want the widget to react. For instance, you can use your own CSS if you know how to code. If not just choose the Default styles from above. Next, you can change how you want the widget to determine your top posts. Either you can sort by Comments, Shared count, or Curated (random).
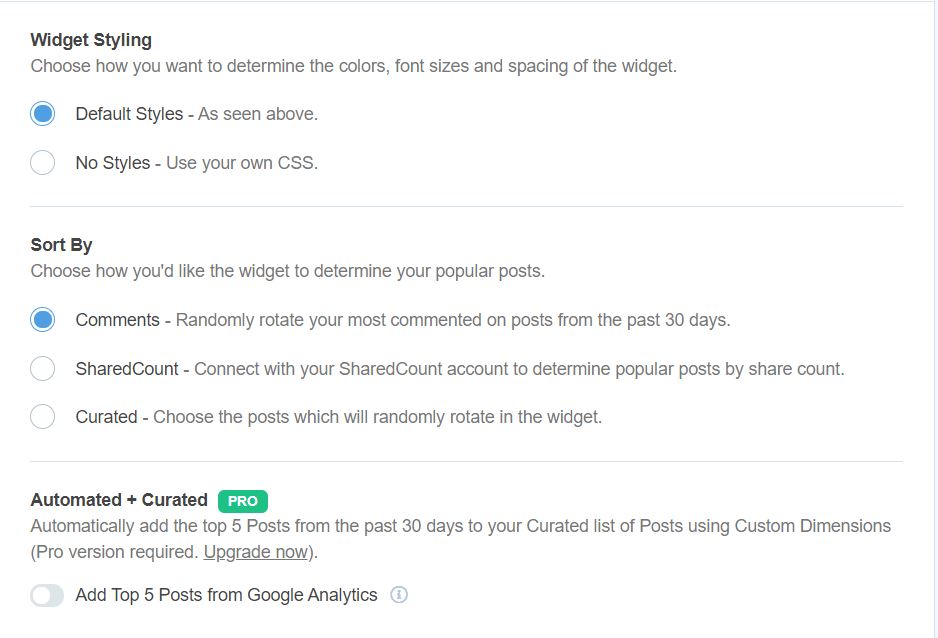
If you choose the Curated, you will need to upgrade to Pro. Once you have upgraded you can choose the Add Top 5 Posts from your Google Analytics. If you’re unsure how to set up Google Analytics you can read my beginner post or my more advanced post. It will take you through step by step. So you can activate this tab. I would recommend this especially if your selling products on your website or e-commerce.
Placement
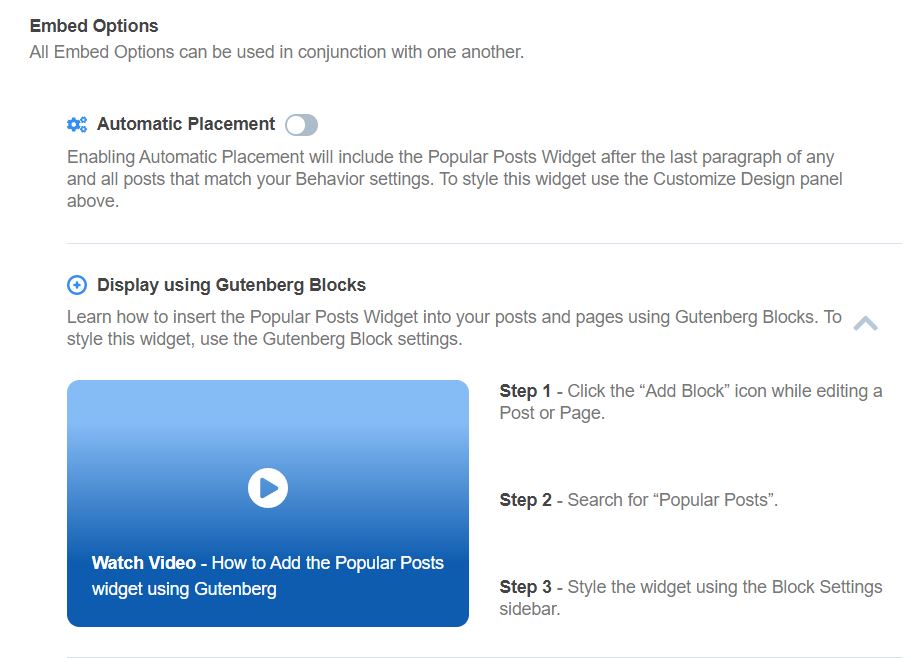
You can choose where you want to place your widget. You can do this automatic or you can do this manually. If doing this manually MonsterInsights gives you two options: Gutenberg, or the shortcode.
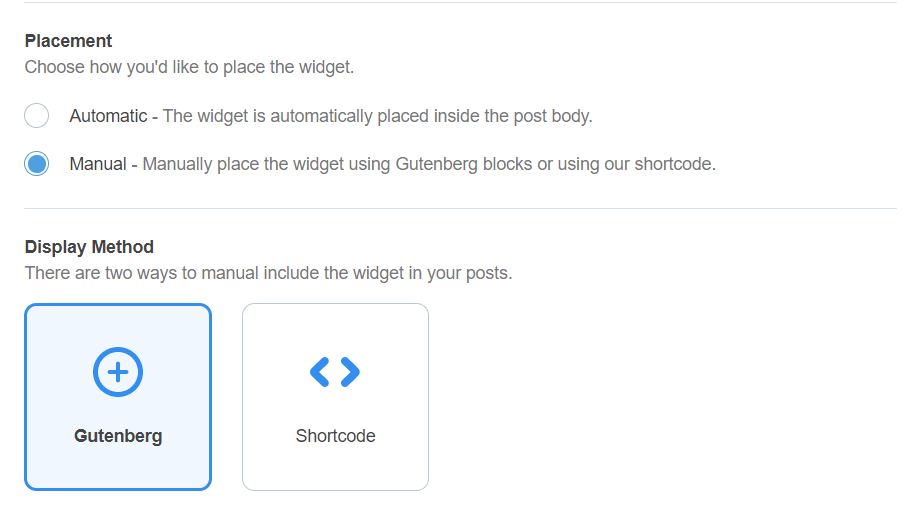
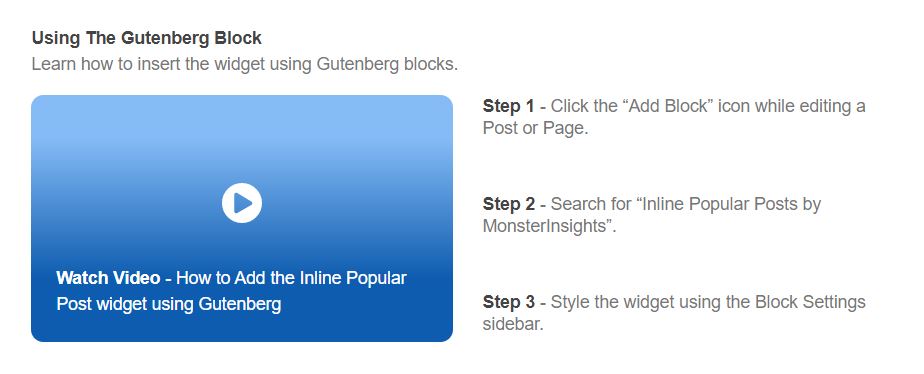
Using the Gutenberg block you can watch the video they provide for more instructions.
Popular Posts Widget Tab
You will see similar screens as above.
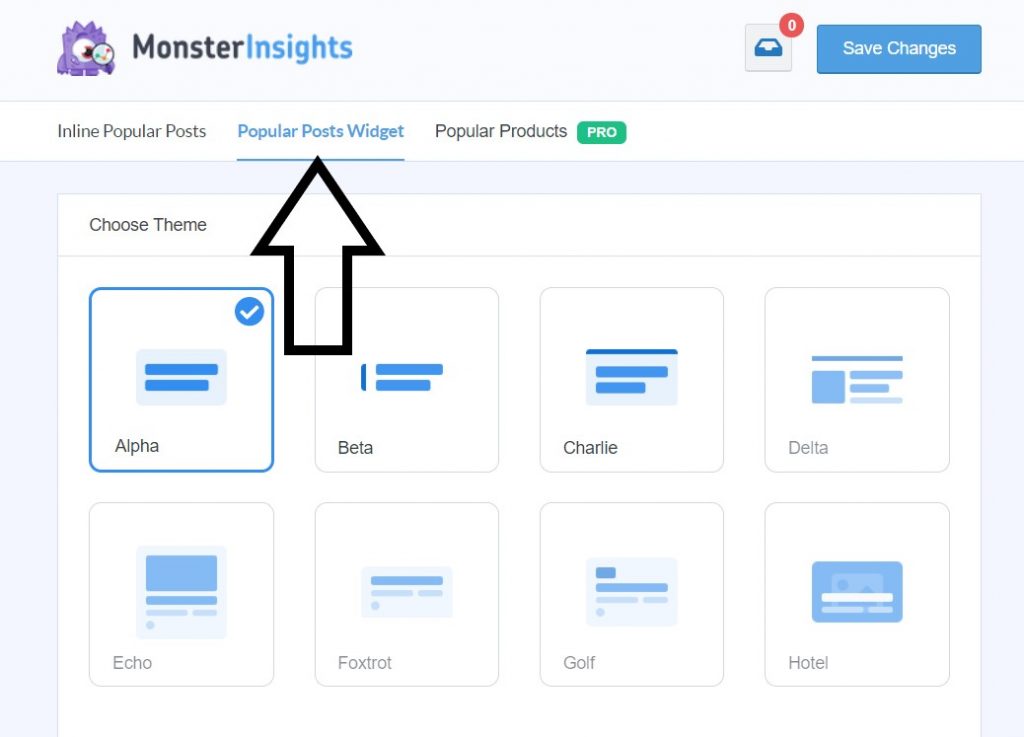
Choose how you would like to view your popular posts, the same way we discussed above. They give you a few pages to choose from. You can always go back and make changes to suit your needs. Next, you will want to change the Theme Preview.
Theme Preview
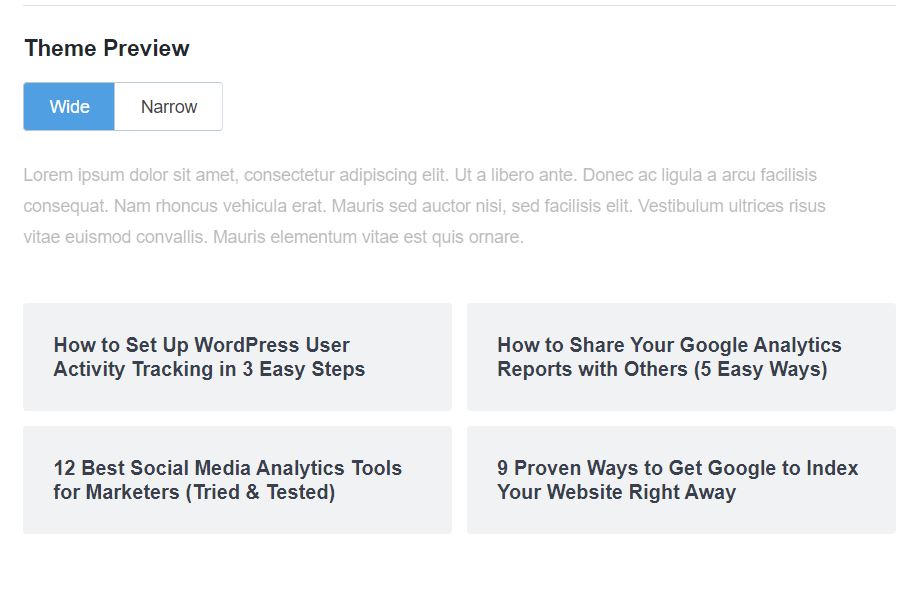
You can choose if you want the posts to be narrow or wider. I chose the wider one for now.
Custom Design
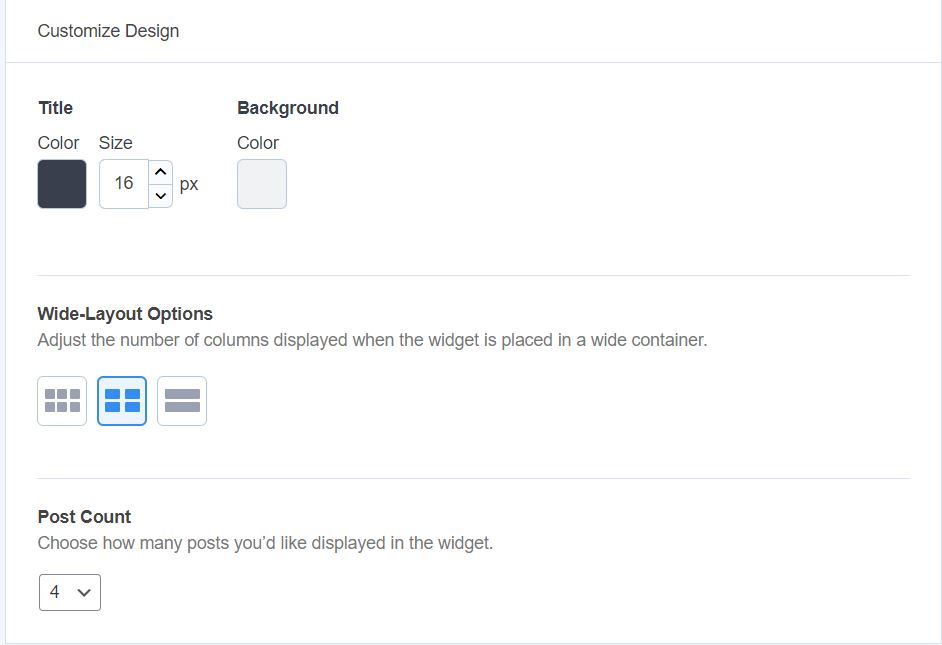
The custom design will allow you to choose the color, Background, and if you want Wide-Layout Options as well as the Post count. How many posts you want your widget to display.
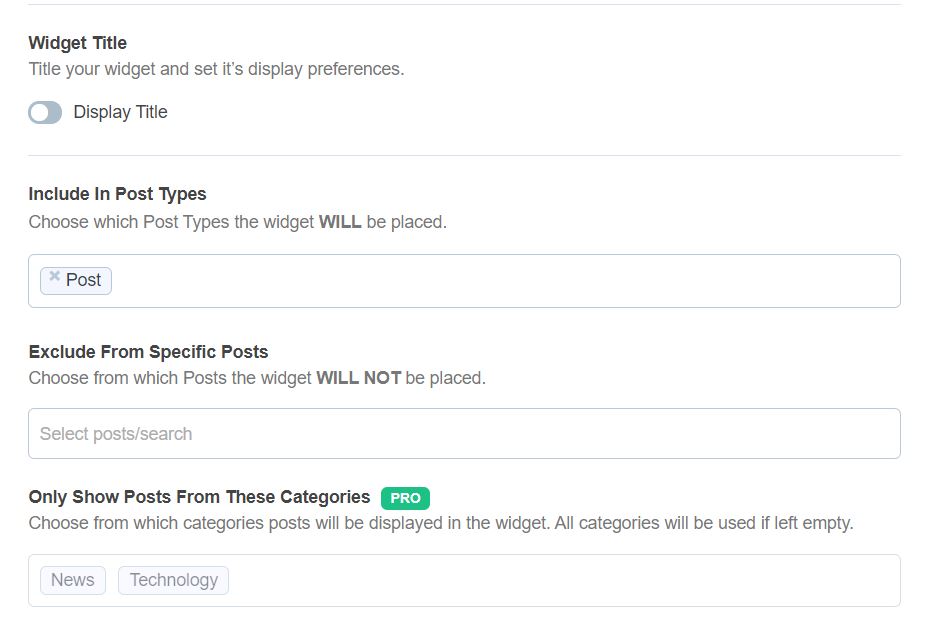
Behavior
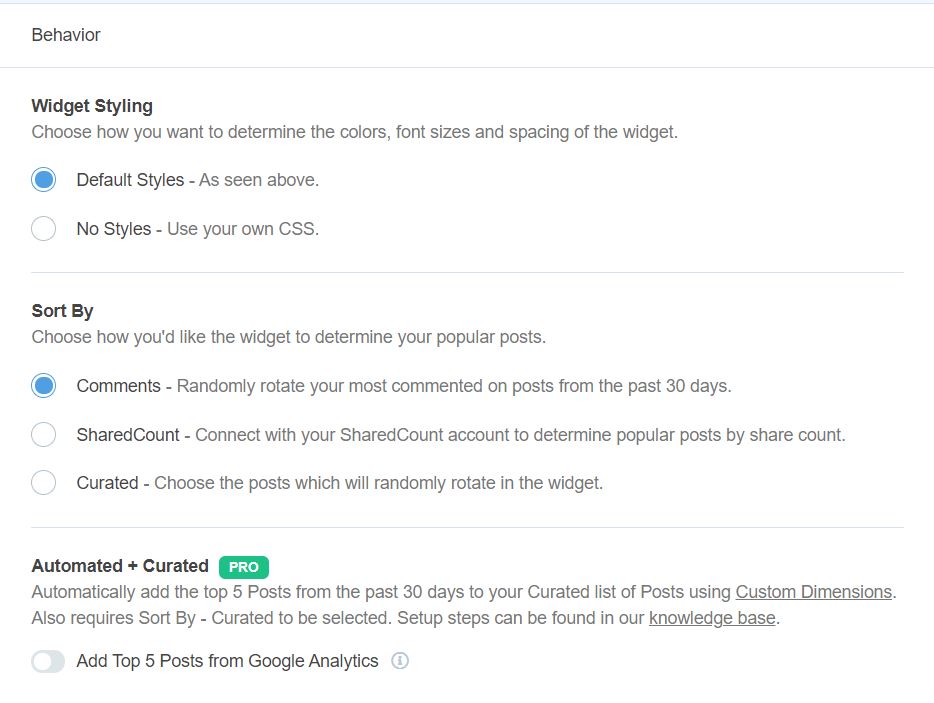
You can see from the options you can also title the widget, Include certain posts types that are tagged in your WordPress site. What I love is that you can exclude some posts as well. But you will need to upgrade if you want to only show posts from certain categories.
Embed Options
All the embed options can be used in conjunction with each other. You can choose the automatic placement, Display using the Gutenberg Blocks, Shortcode or display in the sidebar.
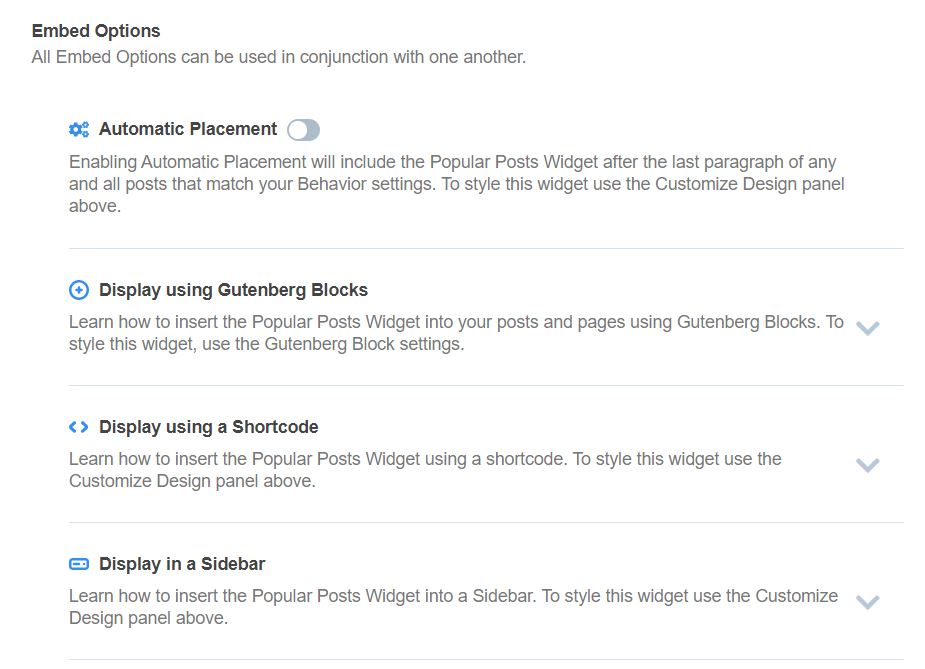
Use the arrows to see the dropdown settings within the one you choose to use.
Now you are ready to go! All you need to do now is save your widget and add it to where you want on your website. If you choose to upgrade you will have more options.
Include Your Popular Posts from Google Analytics
How to Display a Popular Posts List in WordPress with Google Analytics
Imagine asking Google Analytics to show off your top posts to anyone that visits your site. With Popular Posts, you can! But you will need to upgrade remember!

Set Up Custom Dimension
You can read how to set up a custom dimension right from the MonsterInsight website. You need to do this first in order to set this up correctly. Unfortunately, yes you have to wait 24 hours with Google to update and set this up for you. Once you have your dimension created.
Specify How The Popular Posts Will Be Sorted In MonsterInsights
Go to MonsterInsights, Popular Posts/ Inline Posts/ Sort by Curated .
You can start typing and a drop-down should appear with your posts. Once a post is selected it will automatically be added to the area. To remove a section you just need to click on the “x” to close it.
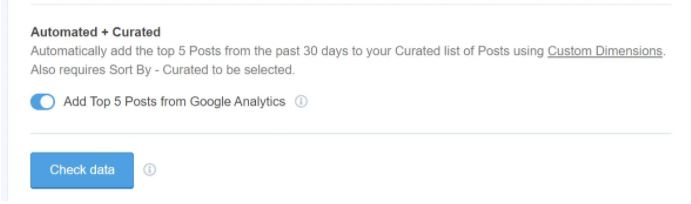
Next, you want to scroll over to the Insights/Popular Posts/ Inline Popular Posts/Automated plus the Curated.
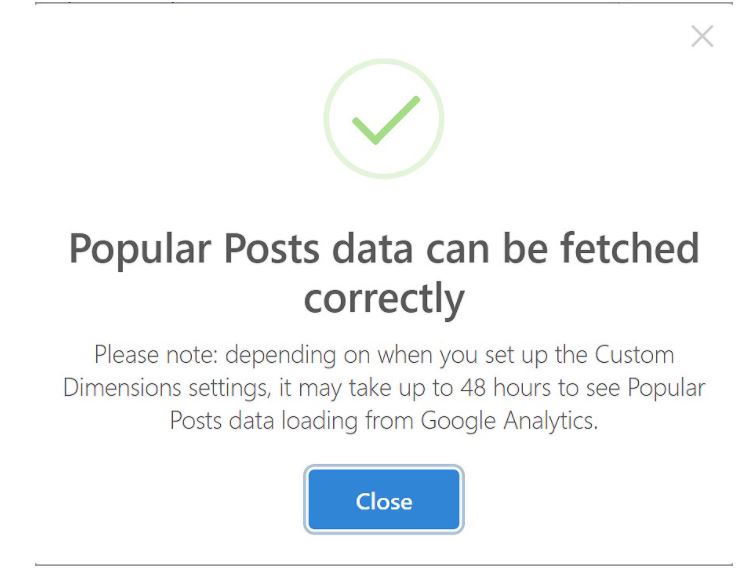
Click the add Top 5 Posts From the Google Analytics toggle button. You will see a check configuration button. Click on the button. If the configuration is correct you will see this next box.
Saving the Changes
What I love about the MonsterInsights is that you can save it by clicking the save changes button. However, if you forget, MonsterInsights conveniently has an autosave feature. So you don’t have to do it all over again.