Table of Contents
How To Set Up Your WordPress Security Settings Easily
WordPress security settings are only good if set up correctly. It can be extremely secure. Despite what you may read online. Here are some basic tips to help you. After the steps, I have discussed in the learning to use WordPress for Newbies’ article. Keep these things in mind.
General Rules
- Always keep your WP up to date. WordPress releases a lot of updates so check on your dashboard to make sure you’re always up to date. They fix all the security issues when they do updates. So always stay Up To Date.
- Delete any plugins your not using. Keep all your plugins up to date. This is to prevent hackers from using known exploits to gain access to your site.
- Do NOT ever use the default Admin username when you’re setting up your WordPress account. Change it to something else. Use a long secure password.
- Back up your database frequently. I will show you how to set up a WP-DBManager in the free plugins.
- Install and configure the plugins I am going to discuss in this post.
If a plugin should lock you out. Send me a quick email on my contact page and I can help you with a tutorial I was given. A great site for further reading is from WP Beginner Website.
You want to always check these settings on occasion. Especially if you have other users. Keep your settings safe and only have yourself as the admin. That way only you can make these changes.
Add A Security And Firewall Plugin
Install the All in One WP Security and Firewall Plugin
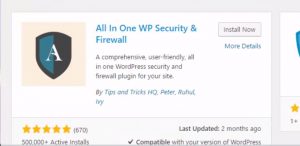
I found that this security plugin did not slow my site down. Some of the others you will find will decrease your speed. It also has more features in the free version compared to others.
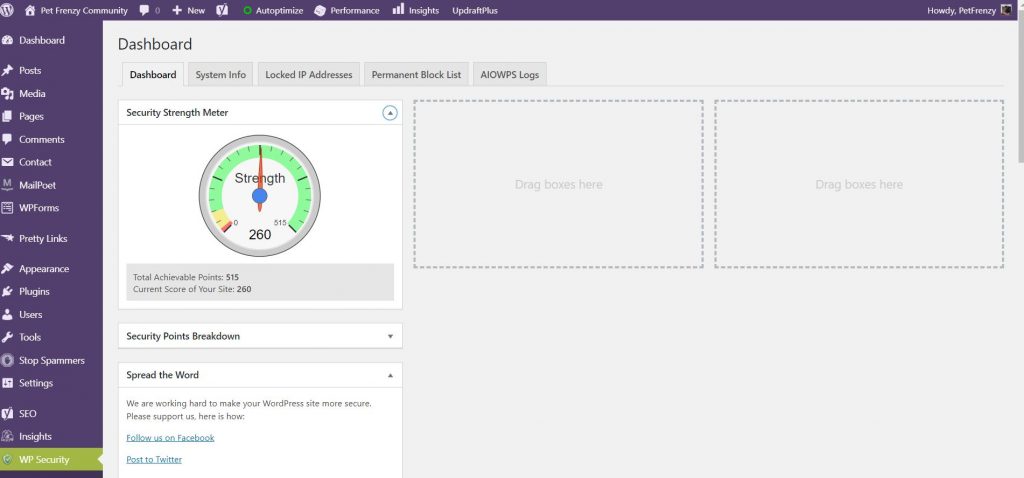
Once you have installed and activated the plugin. You can go to the sidebar and you will see the dashboard.
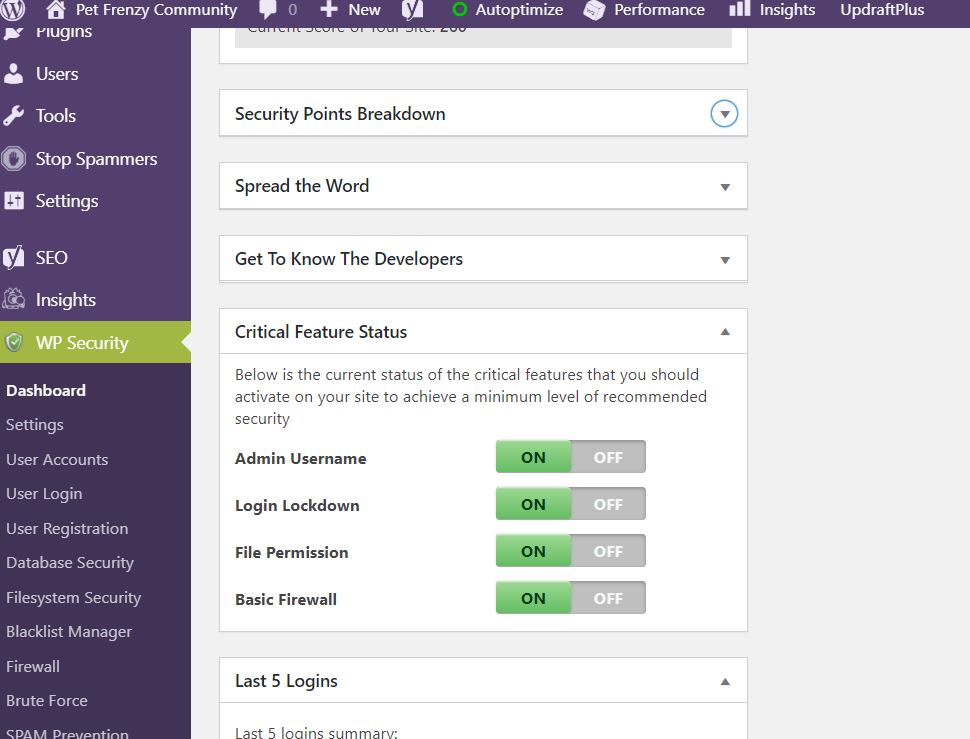
Critical Feature Status
Notice in the Critical Feature Status that all of mine are turned on. Do this by first enabling the basic features of this plugin. You will notice on your dashboard the meter will increase as you do these things.
Login Lockdown feature
Now you can enable the Login Lockdown feature. So you will need to click them and enable them. Here will be a screen if you want to enable the lockdown. The next screen will look like the one below. You will want to Enable the Lockdown feature. Click the box and save the changes.
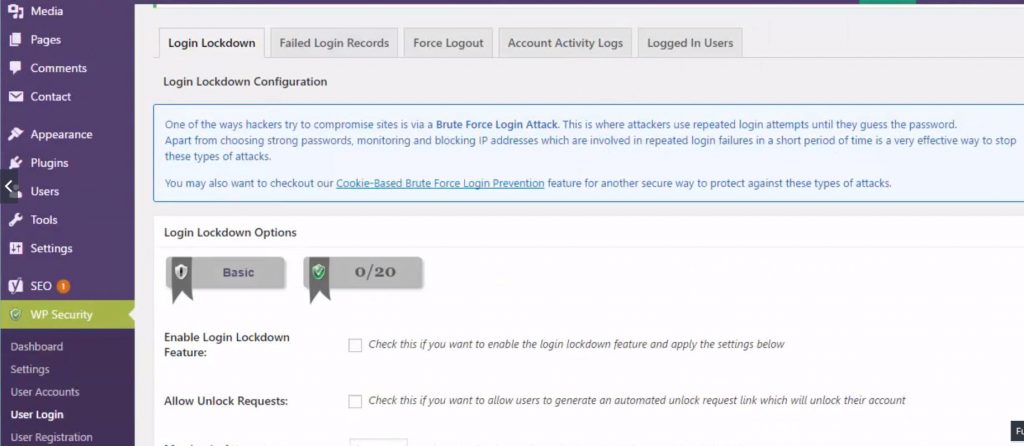
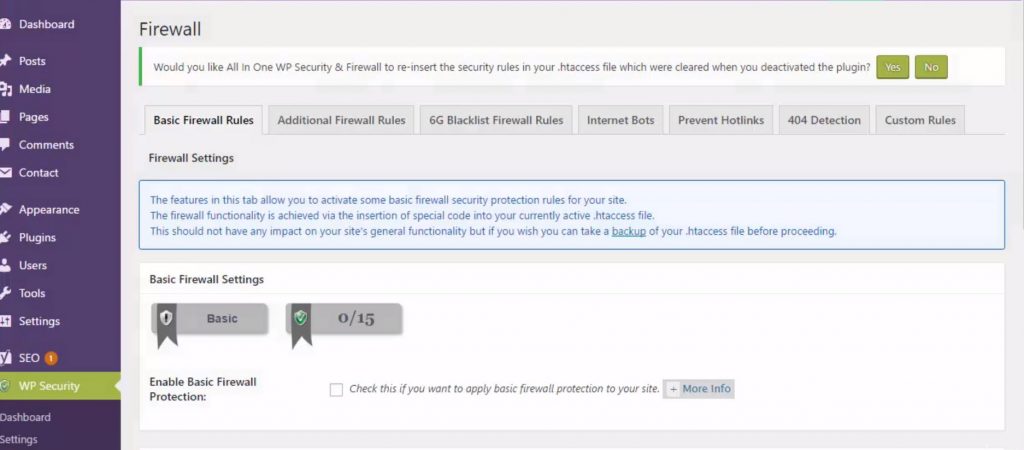
I wouldn’t suggest doing more that unless you’re an expert. It will, however, increase your security.
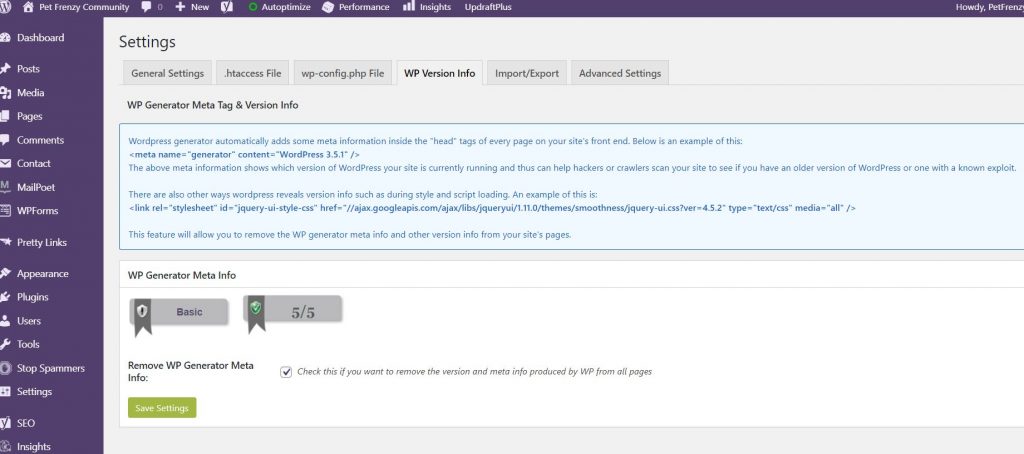
You will want to enable this feature. It will prevent hackers from getting your meta information on your website. Make sure to enable this and save your changes.
User Accounts Settings
You will want to click on the User Accounts in the sidebar. You will see a screen similar to this one. This allows you to change your username from the admin. It has instructions on how to do that. I have already changed mine so I am only showing you the screenshot.
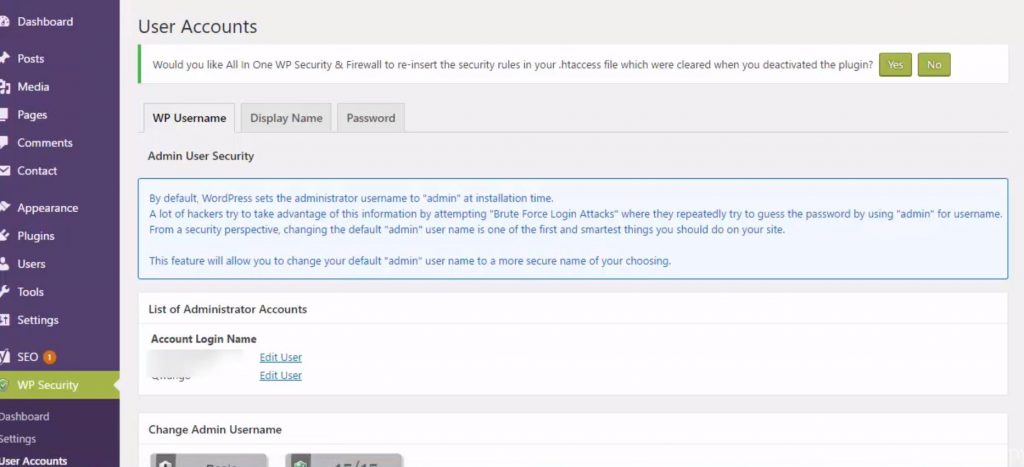

You can also check on the display name option so that it does not display the same name as your login. You can also test your passwords here to see if they are strong enough.
User Log In Settings
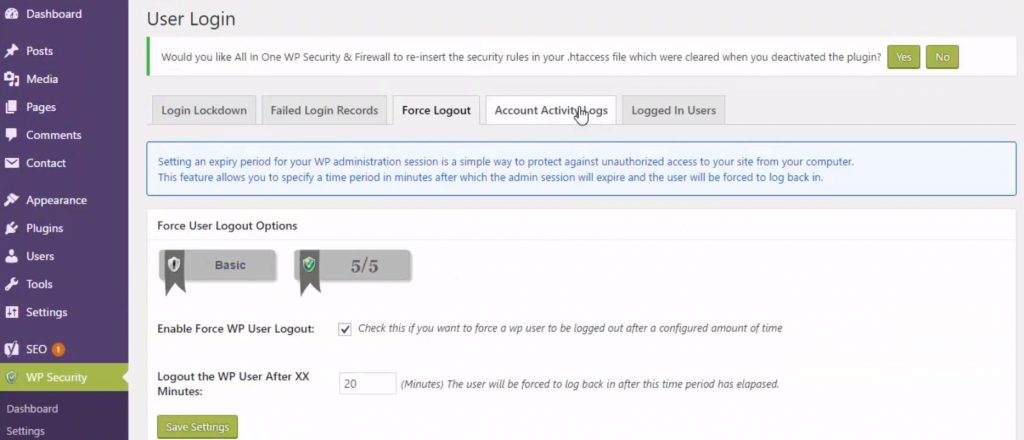
This feature will, however, log you out every 60 minutes so make sure you know your password and username to log back in. I choose this option only when someone else is also a registered user. If it is just yourself I wouldn’t worry about enabling this feature.
User Registration
These are what you will need to enable if you have a site that allows users to register for a course or program. Use the basic features or you can look up tutorials in the plugin help section. It’s best to set this up ahead of time. If you do set it up later it will disallow all your already registered users. So make sure you get some advice.
Database Security Settings
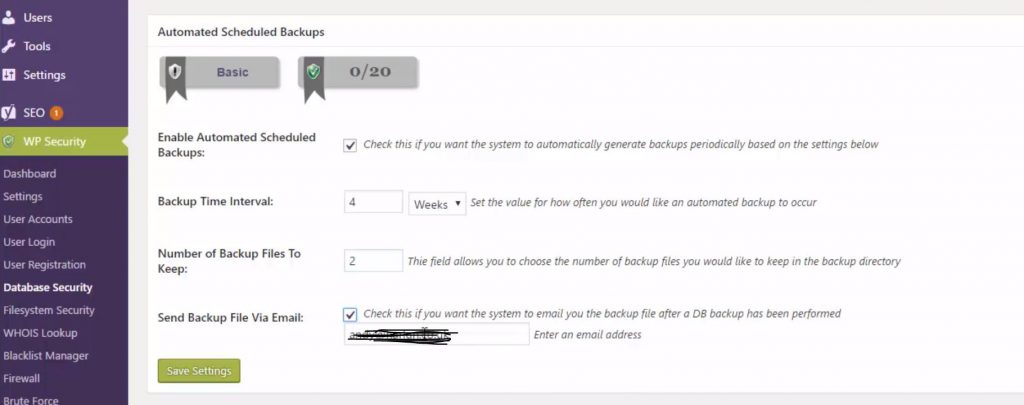
Very standard. This way your database will back up every so often and inform you through an email.
File System Security Settings
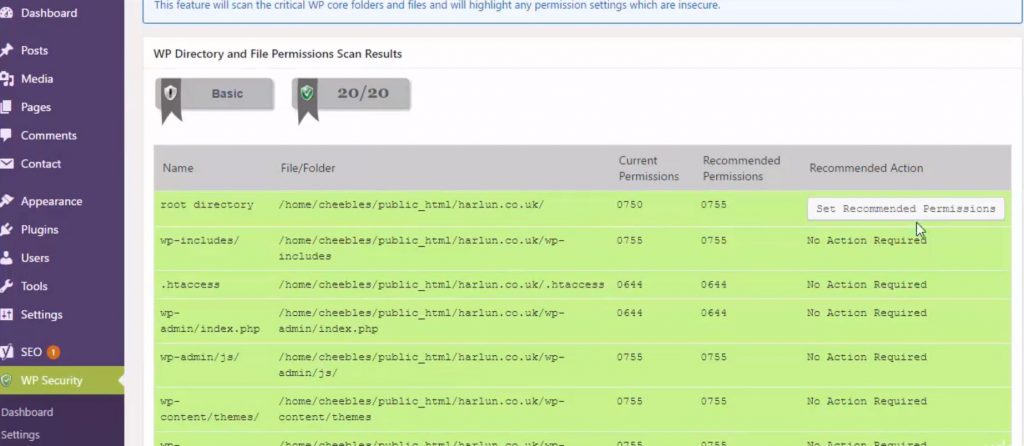
Make sure you click the box and the program will fix this automatically. It’s not a guarantee that it will remain fixed. So try to remember to occasionally check up on the settings.
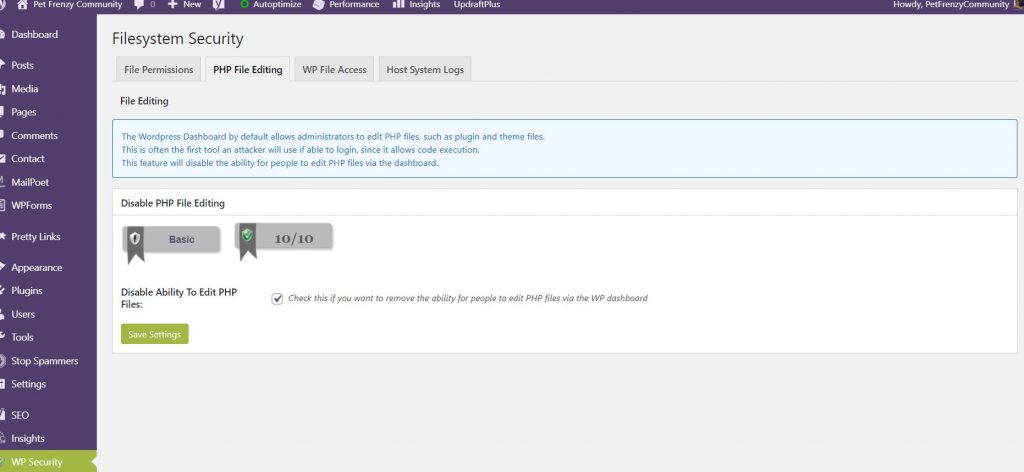
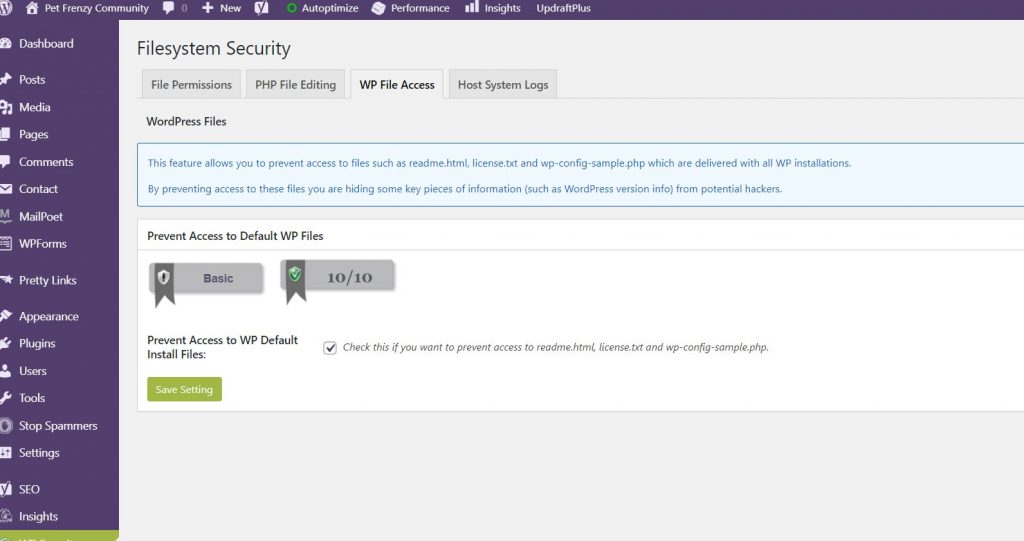
I would not worry about the host system log tab. Unless you know programming or some background knowledge.
Blacklist Manager is where you can store your blacklist for emails or IP addressees you have labeled on your blacklist. It is a more advanced feature so I would recommend knowing more about this through research.
Firewall Settings
There is only one setting I can recommend unless you know exactly what you are doing. In the Firewall dashboard, you will see different tabs. I am only going to show you the basics. It will increase your security on your site.
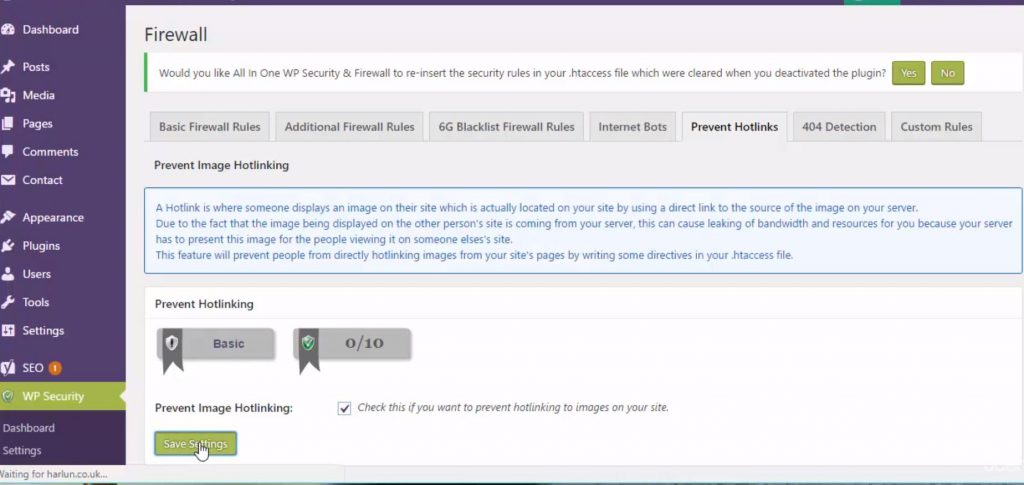
Prevent Hotlinks Tab – Check this box to prevent others from using your bandwidth by the URL’s in your media or pictures.
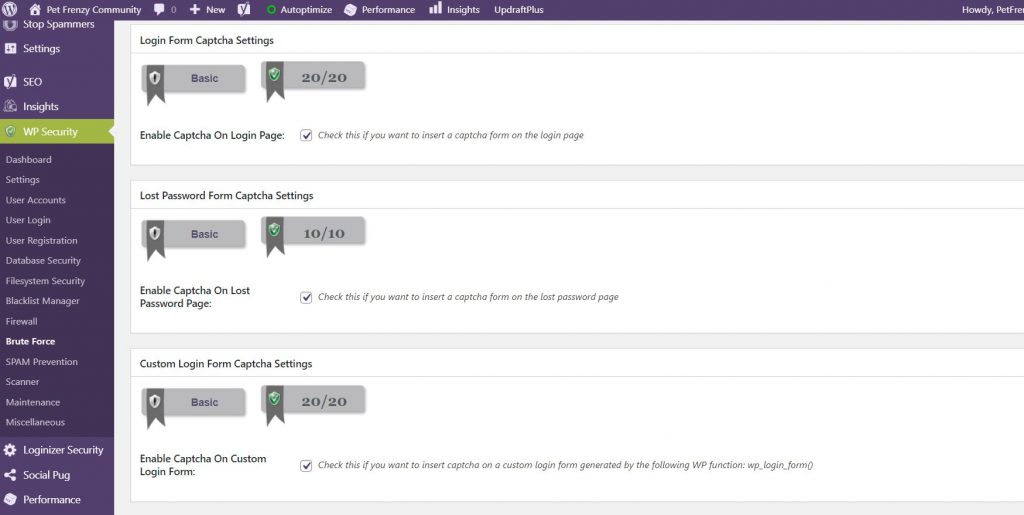
This tab you only need to really go to the brute Force/captcha settings. You can use the key from your google captcha as the default. However, if you want to enable them on your site as needed. I am for instance using Captcha 3 but you can use 2 by default it that was your preference.
The rest of the tabs are intermediate and you will need to consult with an expert. This post if for just for beginners and newbies. The tabs I do not mention is for more advanced users.
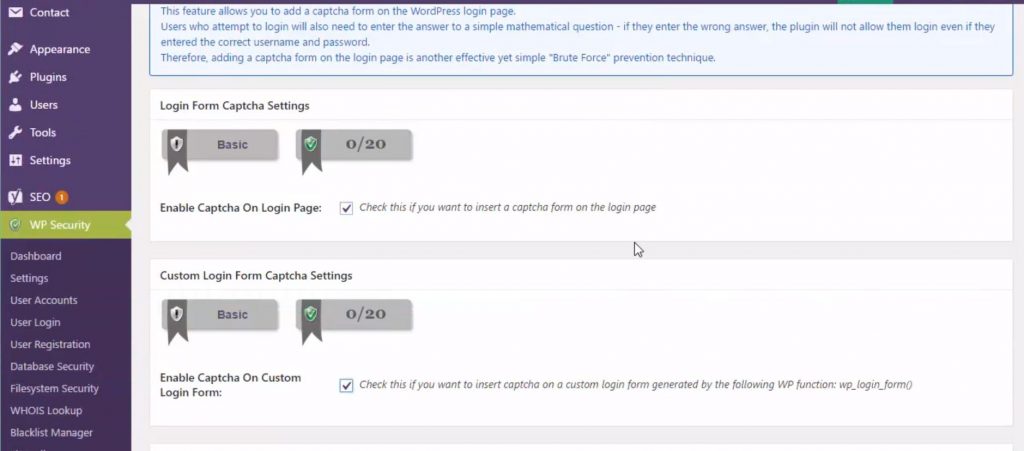
Spam Prevention Tab
Comment Spam
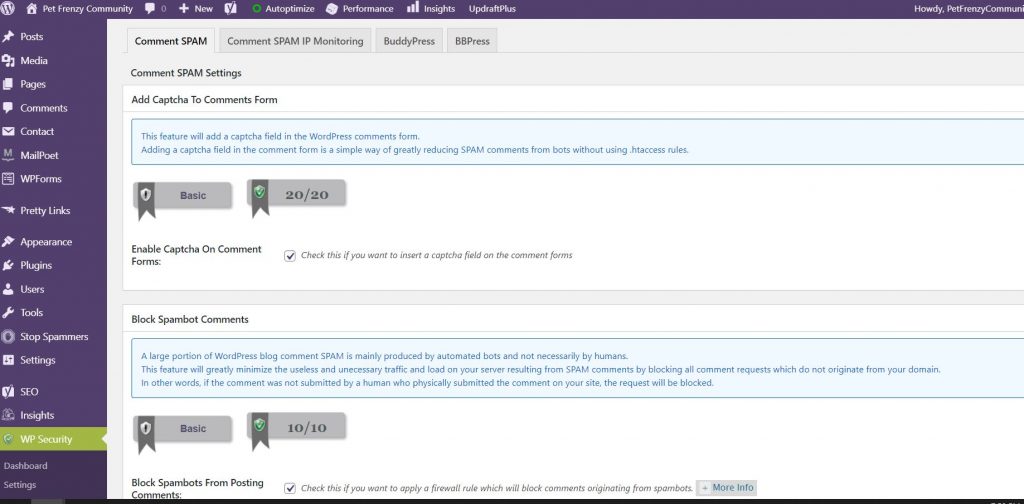
This allows you to enable the captcha on the comment form. It also prevents bots from leaving spam comments.
I won’t be covering any of the advanced settings in this post. However, I will be just showing you how to set up the basics to keep your site safe and secure. The Scanner Tab is also for more advanced users.
Maintenance Tab
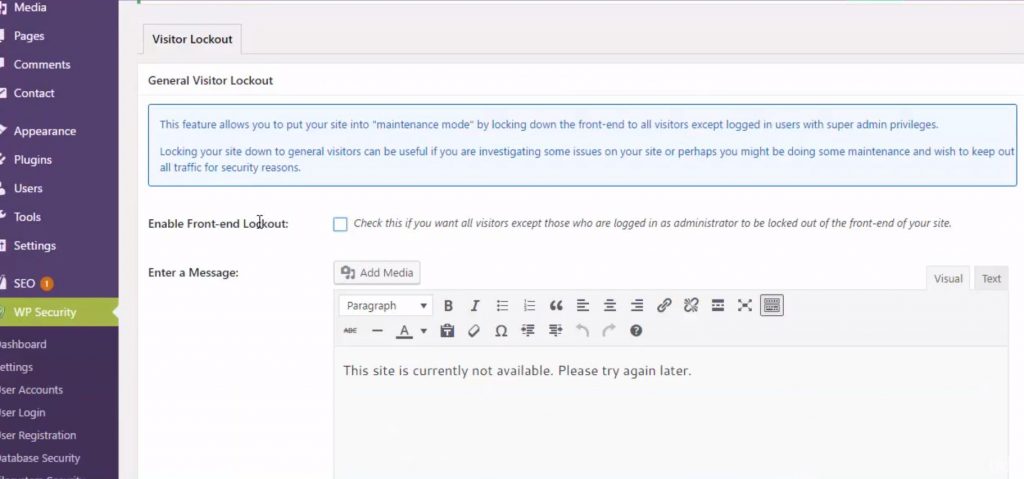
This feature allows you to put your site into maintenance mode. I would recommend this if you’re doing a lot of updates at once. This locks down the front end to all visitors and you can have your own message to the viewers.
Miscellaneous Tab
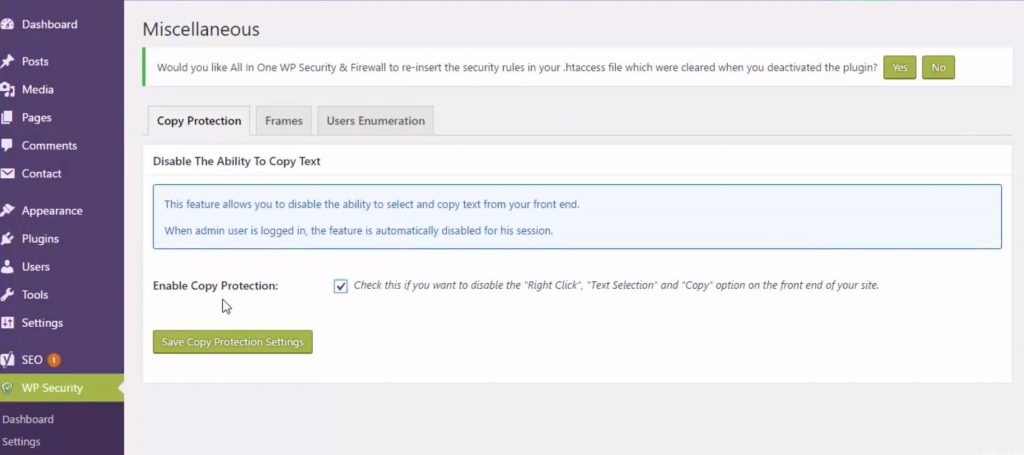
By enabling this feature it will stop viewers from right-clicking and saving your content and pictures.
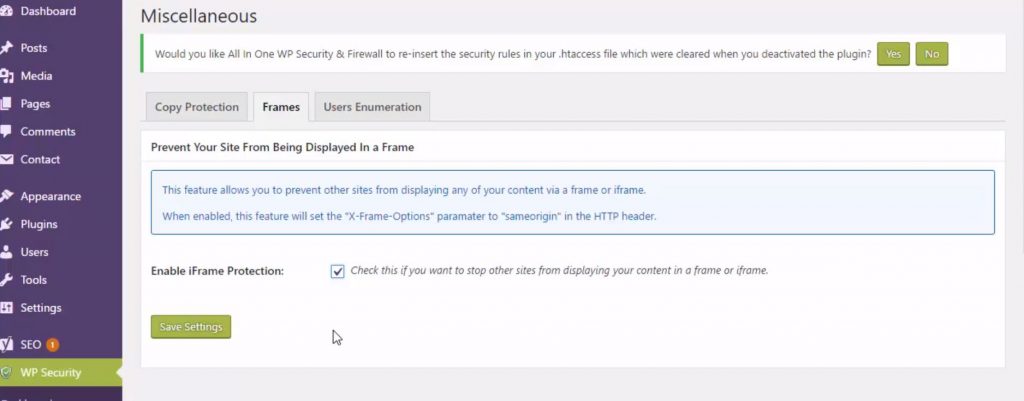
If your not sure what an iframe is don’t worry about that just make sure you check this one because being a new site you don’t want them to do that anyway.
You can also go to the Users Enumeration tab and enable that as well. This will now increase the security of your website. You can return to the dashboard and see how much your site security has improved.
These again are just some basic tips to make your site more secure. It can make it a lot harder for anyone to break into your website. I have discovered how to use more of the advanced features and do have some other great plugins I can recommend. Make sure to check back for updates.
Be sure to read our article on Yoast and how to set that up. Make sure you create your post with the keywords that are going to rank you higher on the search pages.
