Table of Contents
How to set up your Legal Pages in WordPress
Creating Legal Pages In WordPress For Newbies is simple. I will show you a really simple way to start getting your legal pages online. Also, this post is in no way providing you ANY legal advice. Furthermore, I am not a lawyer. These are just a basic start to getting some legal pages on your website.
Installing A Plugin That Can Help You
Go to your sidebar and click on add new plugin. Undoubtedly, I would suggest using WP insert if you’re a beginner.
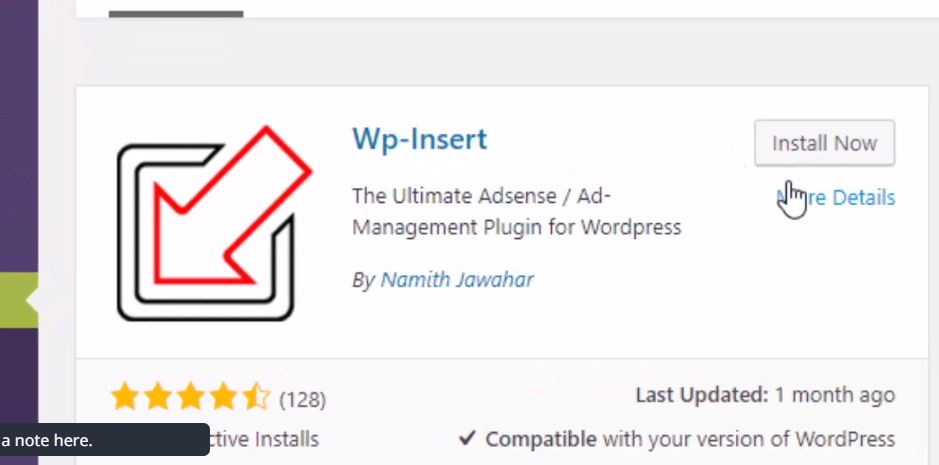
This not only can help you with your legal pages. Furthermore, it can be used to place ads on your website. I am just going to go over the basics in this post.
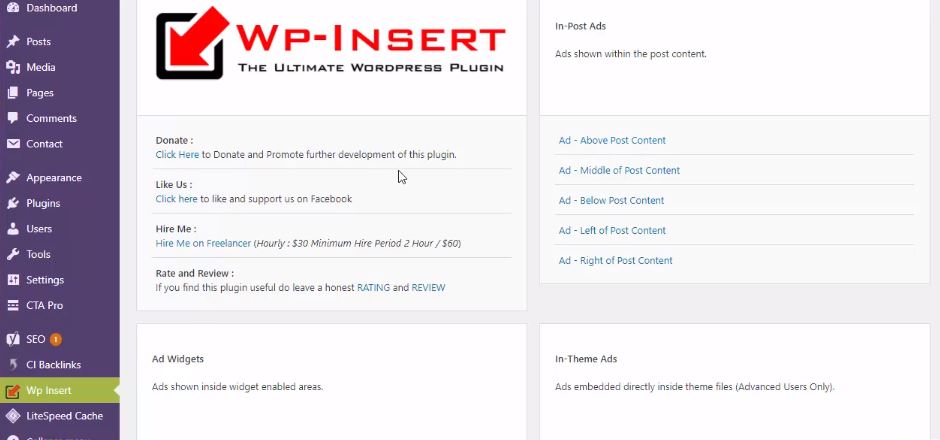
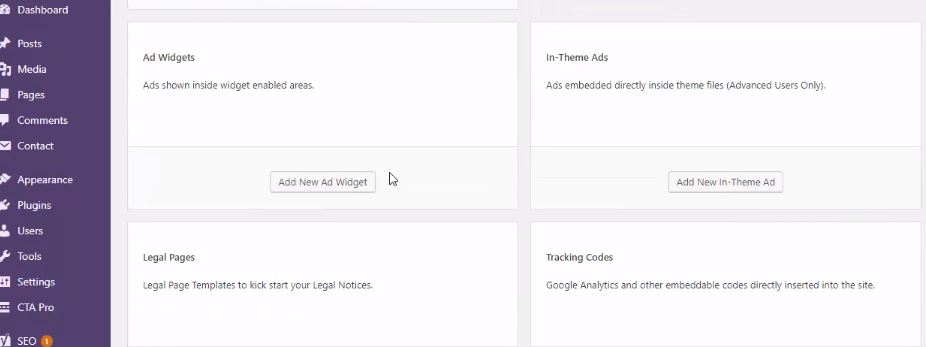
Notice you have the Privacy Policy, Terms, and Conditions, Disclaimer.
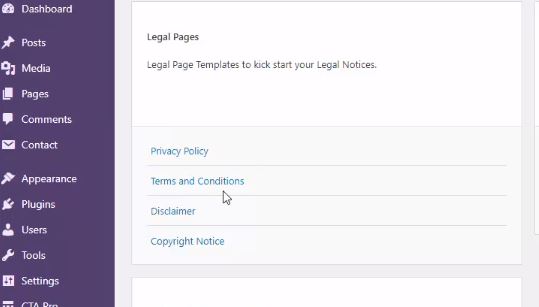
If you click on the Privacy Policy it will come up with pre-written privacy policy. You can add in what you like if you would like to extend these. Secondly, you will need to generate a new page for your policy.
Now, remember you can check to make sure the page was created. You will notice that no text will appear. Additionally, WP-Insert does that for you through the plugin. If you need to edit your policy. You will need to go through the WP-Insert Plugin.
You can click on the permalink that the page was created to view your policy online.
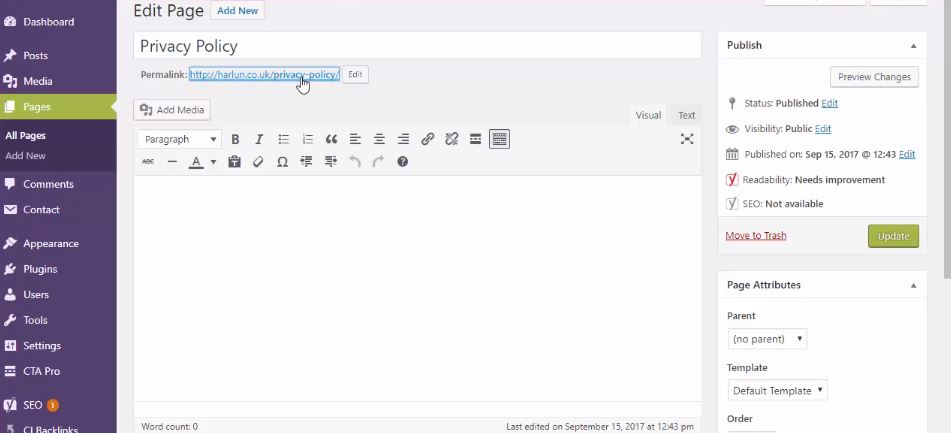
You are going to go to Terms and Conditions next and do the same thing. Generate a page and add in any terms or conditions you would like to have.
Same thing as above Go to your Disclaimer and Copyright information and do the same process. Finally, you will need to place them on your website. I am going to show you how to add them to your footer. You can add them to any part of your front page. You can add them to any menu you would like to.
This part of the tutorial will help you learn a bit about widgets and menus. Although, I do have a separate blog post for that. To find more out about putting together your terms and policies Lifewire has some great pointers.
Creating a Custom Menu For Your Legal Pages In WordPress
Where you can put the menu will depend on the theme you are using. Go to the sidebar, under appearance/menus. In Short, you will want to create a new menu for your legal pages.
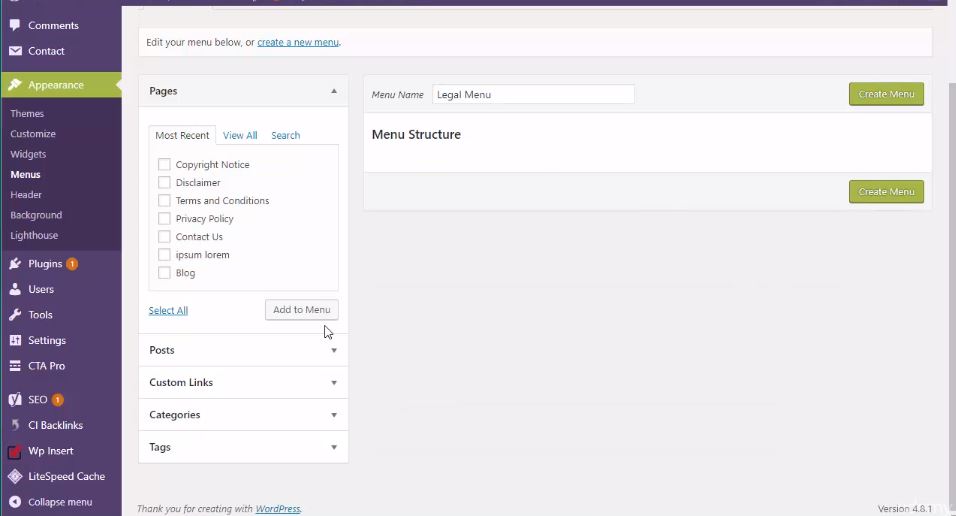
You can now name your new menu the legal pages. Notice on your left-hand side there is a pages tab. Finally, you will want to add these pages to your legal menu.
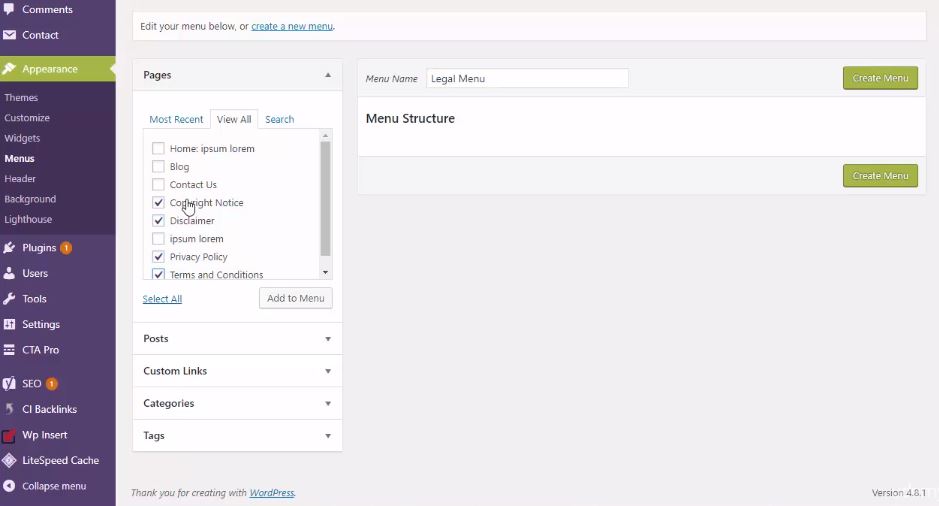
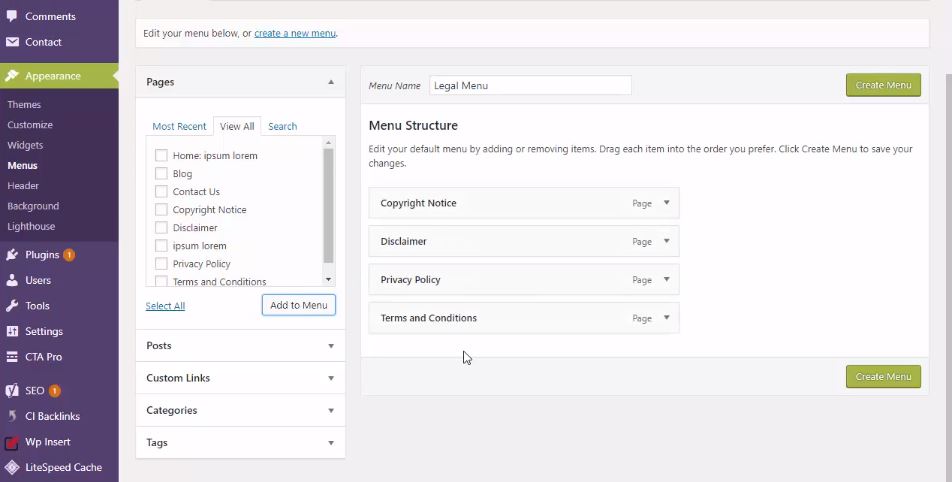
Create the menu and now you need to place this on your site somewhere. Now you can click on the Manage Locations Tab.
Manage Locations
Click on the manage locations tab and choose the legal menu. Then you can scroll down to the Menu Settings. Although, it will depend on your theme and what options they will give you in the menu settings. I would use this as your secondary or Main menu.
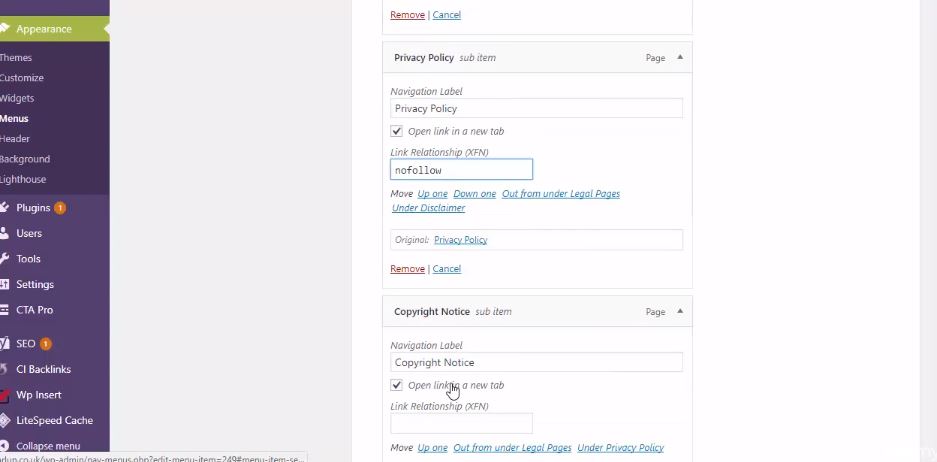
Make sure that search engines do not follow these pages. It’s not important to have the legal pages in search results. Second, they are meant for the viewer on your website.
Edit your menu pages by clicking on them as shown below. Type in “no follow” in the boxes.
Creating Navigation Menus and Widgets
This is just a beginner’s guide to setting up your menus. To place your legal pages in your footer you would go the sidebar under widgets. You can choose the pages to add to a widget. Finally, you can put your pages into the footer from this point.

In Conclusion, I hope you enjoyed the post Creating Legal Pages In WordPress For Newbies. Equally important Be sure to read some of the other posts I have on WordPress Support.

Grammarly- Free Editor Chrome Extension
*Disclosure: I only recommend products I would use myself and all opinions expressed here are our own. This post may contain affiliate links that at no additional cost to you, I may earn a small commission. Read full privacy policy here.“


